Introduction to Clay Bead Bracelets
How to tie clay bead bracelets? Express your style with clay bead bracelets, perfect for both fashion statements and fun DIY projects. These accessories blend charm and creativity, allowing for countless designs and personal touches. Making your own can be a satisfying journey, whether you’re gifting them or decking out your own wardrobe.
The Appeal and Versatility of Clay Bead Bracelets
Clay bead bracelets stand out for their unique appeal and versatile nature. They easily adapt to any look, from casual to chic. You can craft them in any color, pattern, or size, tapping into a world of creative potential. They’re ideal for both seasoned crafters and beginners, offering a great way to dive into the art of handmade jewelry.
Essential Materials for Creating Clay Bead Bracelets
Gathering the right materials is key to making a clay bead bracelet. You’ll need clay beads, a strong string material, scissors and, optionally, a clasp and beading needle. High-quality materials ensure your bracelet will last and look great.
Selecting the Right Clay Beads and String Materials
Picking the best clay beads involves looking at colors, sizes, and textures. For the string, elastic cords work well for stretchy, slip-on bracelets, while waxed linen is good for a firmer feel. Choose strength and durability to match your bead choice and bracelet design.
Measuring and Preparing Your Wrist for a Perfect Fit
Accurate wrist measurement ensures your clay bead bracelet fits just right. Begin by wrapping a tape measure around your wrist where you want the bracelet to sit. Make sure to add an extra inch or two. This allows room for knots and movement. Write down your wrist size. It will guide you when cutting your string and adding beads.
Tips for Accurate Wrist Measurements
Use flexible tape for precise measuring. If it’s not handy, a piece of string and ruler will work. Be sure not to pull too tight; the aim is a comfortable fit. Do remember, your added length must account for the clasp if using one. When you measure twice, mistakes are less likely. Keep a note of your measurement for future bracelet-making sessions.
Threading Techniques for Clay Bead Bracelets
Mastering threading is key in bracelet making. It ensures beads sit nicely and hold up over time.
Best Practices for Adding Beads and Using a Beading Needle
Start by taking a length of cord or thread. Make it a bit longer than your wrist measurement plus extra for knots. This will give you some wiggle room.
Choose your beads and lay them out. Think about the look you want. A pattern? Random? It’s your call. Mix colors, sizes, or textures for variety.
A beading needle isn’t a must, but it can help a lot. It makes slipping beads onto the string a breeze. This is especially useful for small or tricky beads. Have one ready if your beads have small holes.
Begin threading by putting one bead on the cord. Follow with the rest, one by one. Keep the pattern in mind as you go along. Make it tight enough to avoid gaps but loose enough for flexibility.
If your beads differ in hole size, thread bigger-holed ones first. This keeps the bracelet balanced and prevents smaller ones from slipping out of place.
As you add beads, periodically check the length. Wrap the bracelet around your wrist to see the fit. Adjust the number of beads if needed.
Remember to enjoy the process. Threading beads can be calming and rewarding. Take your time and find your rhythm.
How to Securely Tie Your Clay Bead Bracelet
Securing your clay bead bracelet properly ensures it stays intact and comfortable. Using the right knotting technique is the key. Below are detailed instructions.
Detailed Instructions for Tying Secure Knots
A secure knot is essential for the longevity and appearance of your bracelet. The surgeon’s knot is highly recommended due to its robustness. Here’s how to tie it:
- After adding all your beads, hold both ends of the string.
- Tie a simple overhand knot. Before tightening, pass the end through the loop again.
- You now have a double-looped knot. Pull the ends to tighten.
- To ensure extra security, tie another overhand knot on top.
- If using elastic string, applying a small dab of glue on the knot can prevent slipping.
For non-elastic strings, attaching a clasp with a crimp bead secures the ends. This method makes the bracelet easy to wear and add elegance.
Tips for Additional Security
- Pull each knot tightly to avoid looseness that might cause bead loss.
- Cut the excess string close to the knot for a neat finish. Be careful not to snip the knot itself.
Using these methods, your clay bead bracelet will have a secure and durable finish. Enjoy wearing it with confidence!
Adding Finishing Touches and Clasps
After you’ve successfully threaded and tied your clay bead bracelet, adding finishing touches is essential. These steps enhance the bracelet’s durability and give it a polished look. Here are some crucial steps to ensure a professional finish.
Ensuring a Professional and Durable Finish
- Inspect Your Work: Before cutting any excess string, check your bracelet carefully. Look for loose beads or knots that might require tightening. Make sure each bead is securely in place.
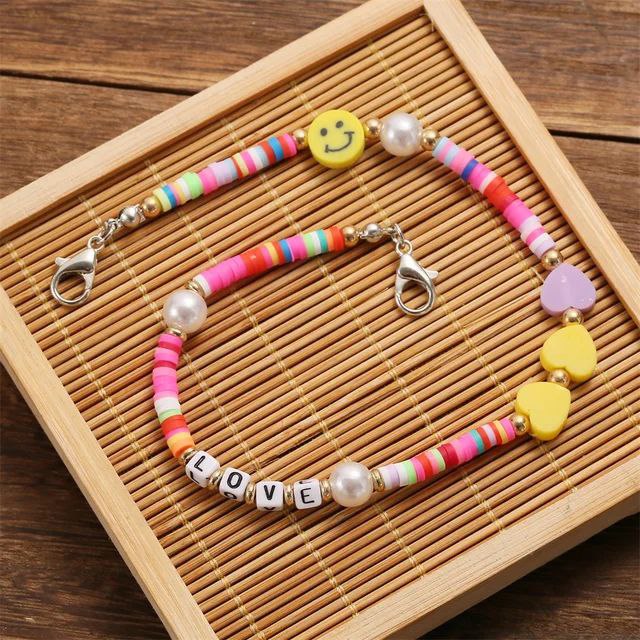
- Attaching a Clasp (optional): If you’re using a non-elastic string, you might want to add a clasp. Clasps make your bracelet easy to wear and remove. Attach your chosen clasp (like a lobster claw or toggle) using a crimp bead or small loop. This will hold the ends of the bracelet securely.
- Trimming Excess String: Once your knots are secure, trim the excess string as close to the knot as possible without cutting into the knot. This prevents any unsightly dangling strings and keeps your bracelet looking neat.
- Seal the Knots: If you used elastic string, you might consider sealing the knots with a dab of clear nail polish or jewelry glue. This ensures that the knots do not come loose with wear and tear.
- Double-Check the Clasp: If you’ve attached a clasp, double-check to ensure it opens and closes properly. A faulty clasp can make wearing your bracelet frustrating.
- Adjust Bead Spacing: Before considering your project complete, adjust the beads to ensure they are evenly spaced. This gives your bracelet a uniform and attractive appearance.
Ensuring a professional and durable finish will not only increase the lifespan of your bracelet but also enhance its aesthetic appeal. Take your time with these final steps to achieve best results.
Popular Clay Bead Bracelet Designs to Inspire You
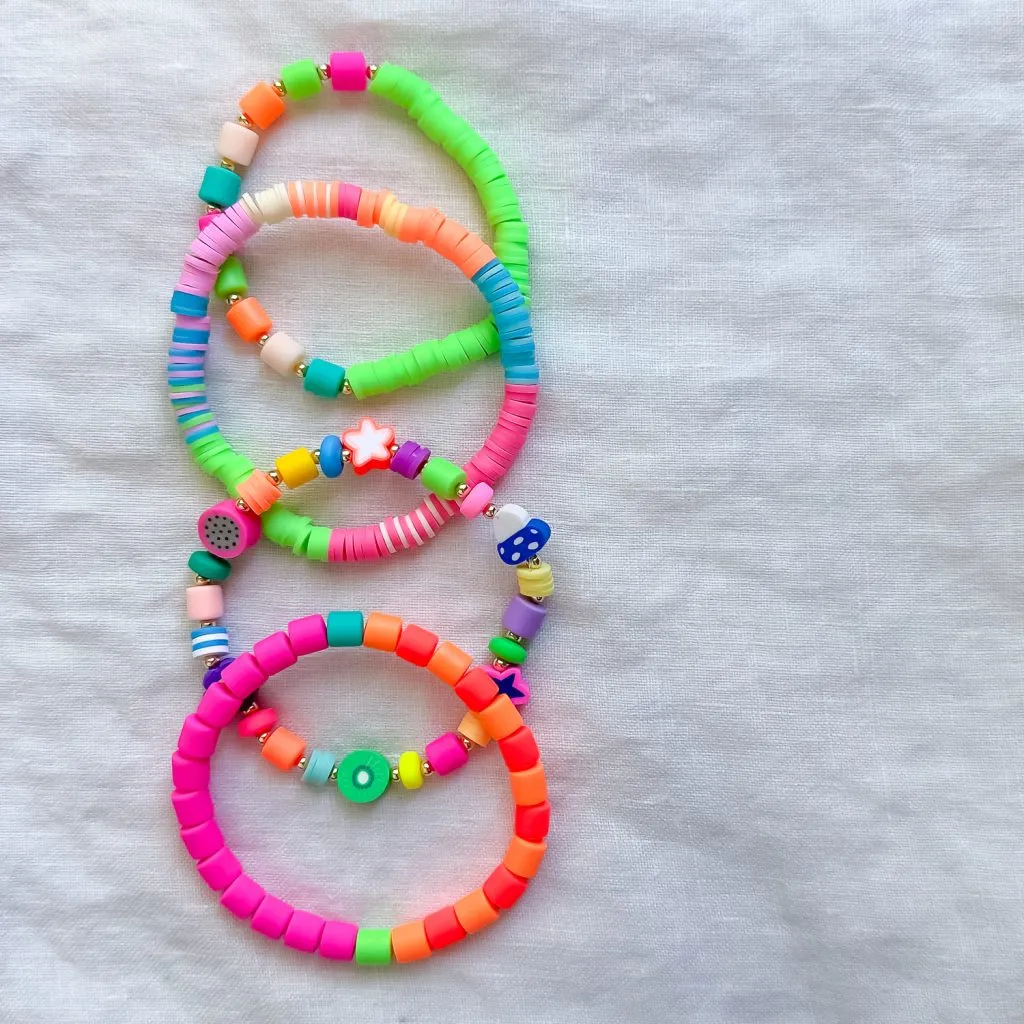
Clay bead bracelets allow for diverse designs and personal touches. They adapt easily to many styles, enhancing both casual and sophisticated outfits. Here are some of the most beloved designs:
- Monochrome Minimalism: Use one color for a subtle, elegant look. These are great for everyday wear.
- Cheerful Charm Bracelets: Add personal or thematic charms like hearts or stars. They’re perfect for gifts or personal keepsakes.
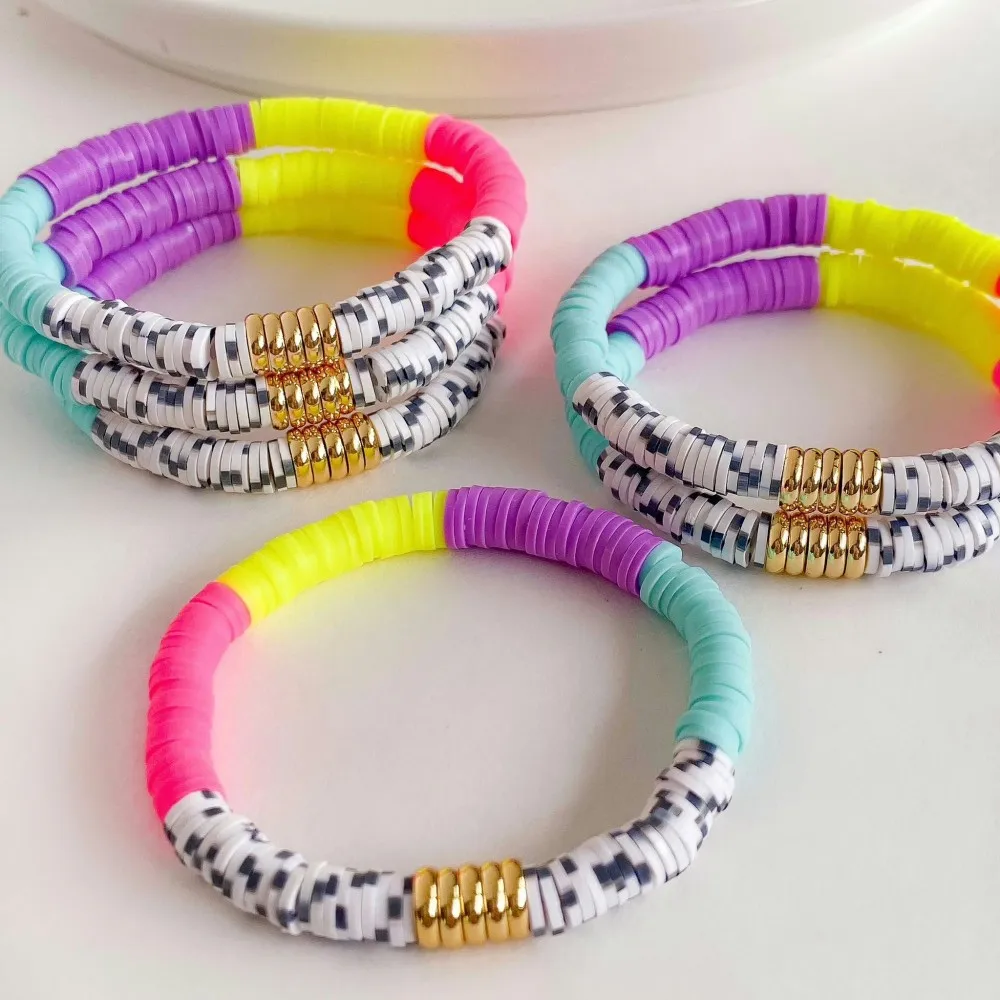
- Mixed Media Marvels: Combine clay beads with metals or glass for a striking effect. This adds texture and visual interest.
- Gradient Glory: Arrange beads from dark to light for a stunning visual gradient. It’s eye-catching and modern.
- Boho Chic: Mix earthy and vibrant colors for a free-spirited look. Incorporate different bead sizes and textured pieces.
- Multi-Strand Bracelets: Layer multiple strands for a bold statement. Combine various colors and textures for complexity.
These designs offer wonderful starting points for crafting unique and personalized accessories.
Ideas for Customization and Personal Style Expression
Customizing your clay bead bracelet allows for unique expression. Here are some tips to make your bracelet uniquely yours:
- Choose a Color Scheme: Decide on a color palette that reflects your style or mood. You can go monochrome or bold with contrasting colors.
- Incorporate Textures: Use beads with different finishes like matte, glossy, or textured. This adds dimension to your design.
- Mix Sizes: Use beads of various sizes for rhythm and flow. Large focal beads can be complemented by smaller, subtler beads.
- Add Personal Charms: Include charms that reflect your interests or personal milestones. These make your bracelet meaningful.
- Play with Patterns: Create patterns with your beads. Try symmetrical designs or random mixes for different effects.
- Include Specialty Beads: Find beads made from different materials like wood or metal for an eclectic mix.
These ideas enhance the personal touch in each bracelet you make. With creativity, each piece can reflect your unique style.
Additional Tips for Clay Bead Bracelet Makers
Creating clay bead bracelets is fun, but keeping them in top shape is key. Here are some tips to help.
Maintenance and Care for Your Handmade Bracelets
To keep your bracelets looking great, follow these care tips:
- Avoid Water: Take off bracelets before bathing or swimming. This prevents damage to the beads and string.
- Store Properly: Keep your bracelets in a dry place. Use a jewelry box or a pouch to avoid dust and scratches.
- Gentle Cleaning: Use a soft cloth to wipe your bracelets. This removes oil and dirt without harming the beads.
- Keep Away from Chemicals: Lotions, perfumes, and cleaners can harm bracelets. Apply these before wearing your bracelet to avoid contact.
- Regular Checks: Look over your bracelets often. Check for loose beads or weak knots and fix them quickly.
- Rotate Wear: Don’t wear the same bracelet every day. Rotating them reduces strain and extends their life.
How to tie clay bead bracelets? Remember, the better you care for your bracelets, the longer they will last. Enjoy your beautiful creations for even longer with these simple steps.
Tags: elegant look, how to tie clay bead bracelets, personalized accessories, polished look


