Introduction to DIY Bracelet Making
Creating your own bracelets is a rewarding craft. It’s a way to express your individual style and craftsmanship. Whether you’re a beginner or an experienced crafter, DIY bracelet making can be both fun and therapeutic. With endless designs to try, each project is a unique journey.
To start, you’ll need an idea of what type of bracelet you want. Do you prefer a charm bracelet jingling with memories, or a sleek beaded design? Once you decide on the style, select materials that inspire you. Bright beads, unique charms, and quality strings are just the starting points.
Why make your own bracelets? It’s simple. Each piece you create will be one-of-a-kind, just like you. Wearing something you’ve made brings a sense of pride. Plus, these cute bracelets ideas can turn into heartfelt gifts for friends and family. There’s something special about receiving a handcrafted token, knowing it was made with love.
In this guide, we will walk you through the basics. From gathering your tools and materials, to mastering the art of charm bracelet creation, we’ve got you covered. And for those who cherish personalized accessories, you’ll learn techniques to add that personal touch to your cute bracelets ideas.
Follow along as we dive into the enchanting world of DIY bracelet making. You’ll discover how easy and fulfilling it can be to bring your vision to life, one bead at a time. Let’s get started on this creative adventure!

Essential Tools and Materials for Bracelet Crafting
To embark on the adventure of bracelet making, you need the right tools and materials. Here’s what you’ll need to start your crafting journey:
- Pliers: Necessary for bending wires and securing clasps. A good set includes round-nose, chain-nose, and side-cutting pliers.
- Wire or Elastic Cord: These are the foundations on which you string your beads and charms.
- Beads: Choose a variety of shapes, sizes and colors to personalize your bracelet.
- Charms: Add character to your bracelet with charms that resonate with your style.
- Clasps: Secure your bracelet with an appropriate clasp for a professional finish.
- Jump Rings: Small rings for attaching charms or connecting parts of your bracelet.
- Scissors: A sharp pair is useful for cutting cords or threads cleanly.
- Measuring Tape: Essential for measuring wrist sizes and ensuring a perfect fit.
- Bead Mat: Prevents beads from rolling around while you work.
Each of these tools plays a vital role in the crafting process. Whether you choose simple stretch cord bracelets or intricate beaded patterns, gather these materials to turn your cute bracelets ideas into wearable art. Proper organization of your workspace can also enhance your crafting experience, making it more efficient and enjoyable.
Step-by-Step Guide to Making Charm Bracelets
Creating a charm bracelet involves patience and a bit of skill. Start by setting up your workspace with all the necessary tools and materials mentioned previously. Below are the steps to make your own charm bracelet:
- Measure Your Wrist: Use the measuring tape to determine the size of your bracelet. Allow a little extra for a comfortable fit.
- Cut Your Chain or Cord: Based on the wrist measurement, cut your chain or elastic cord. Add extra length for adjustments.
- Attach the Clasp: If using a chain, attach a clasp using a jump ring with your pliers. For stretch cord, this step follows later.
- Plan Your Design: Lay out your beads and charms on the bead mat. Arrange them in the pattern you desire.
- String Beads and Charms: Begin stringing beads and charms onto your cord or chain. Use the pliers for opening and closing jump rings when adding charms.
- Check the Fit: Periodically wrap the bracelet around your wrist to check the fit and design.
- Secure the Ends: For chains, use a jump ring to attach the other end of the clasp. For stretch cord, tie a secure knot and add a dab of glue for extra hold.
- Inspect and Adjust: Examine your bracelet for any loose elements. Adjust as necessary for a perfect finish.
- Enjoy Your Creation: Your cute charm bracelet is ready to wear or give as a gift.
This simple guide will help you craft unique charm bracelets infused with your personal style. Remember, practice makes perfect. So don’t hesitate to experiment with different cute bracelets ideas to refine your crafting skills. Happy bracelet making!
Bead Selection for Custom Bracelets
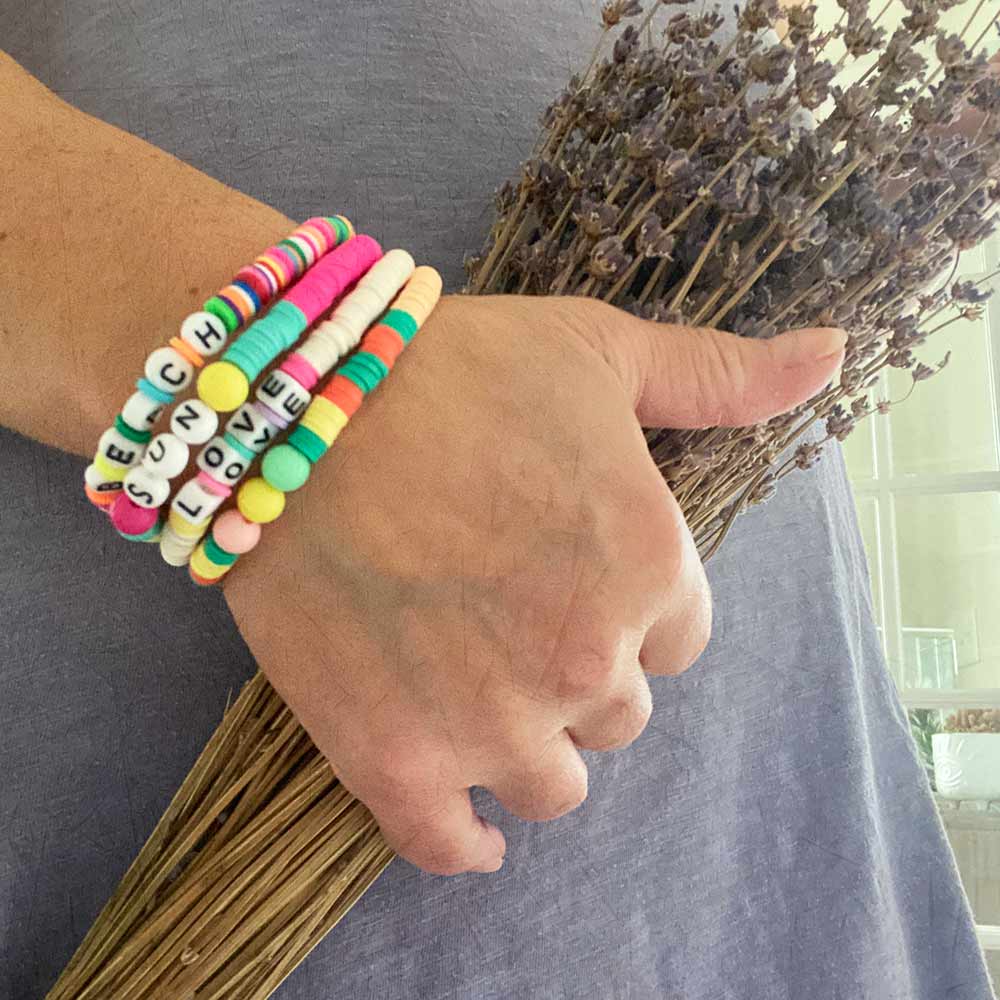
Choosing the right beads is a crucial step when creating custom bracelets. Beads add color, texture, and personality to your design. Here are some pointers to help you select the perfect beads:
- Variety is Key: Mix different sizes, shapes, and colors to create visual interest.
- Color Scheme: Decide on a color palette that suits your style or the occasion.
- Quality Matters: Opt for high-quality beads that will stand the test of time.
- Theme Your Bracelet: Consider a theme like nature or vintage and pick beads that match.
- Texture Mix: Combine smooth, faceted, and rough beads to add depth to your bracelet.
Remember, the beads you choose will give your bracelet its unique flair. So take your time to pick beads that resonate with you. Whether they are glass, stone, wood, or metal, each type of bead can contribute to the story you want to tell with your bracelet.
Techniques for Personalizing Bracelets with DIY Charms
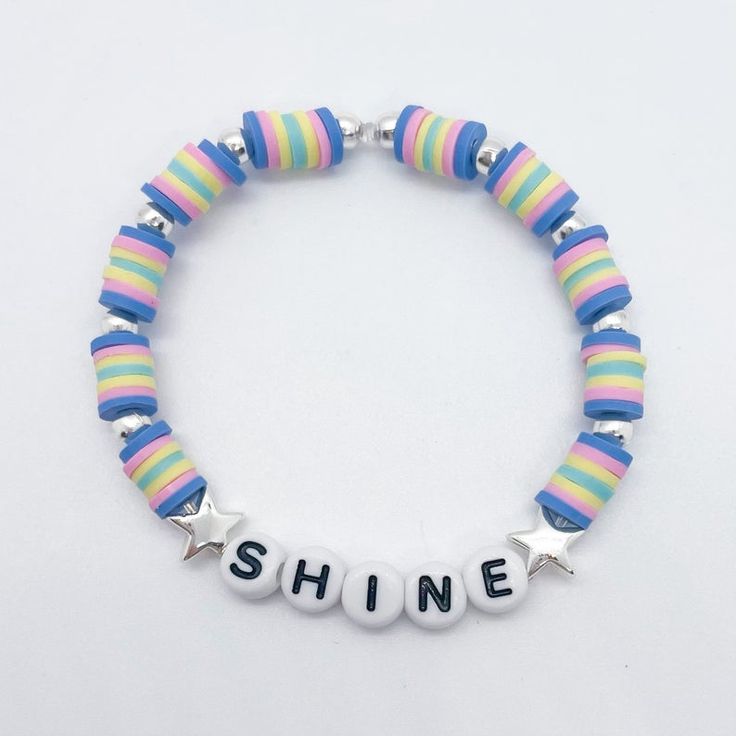
Personalizing your bracelet with DIY charms adds a unique touch that reflects your personality. Here are some techniques for creating one-of-a-kind charms:
- Choose Your Charm Base: Start with a simple charm base, such as a metal disc, wooden shape, or clay. Pick one that can be easily customized.
- Custom Stamping: Use metal stamps to impress initials, dates, or meaningful symbols onto metal charm bases for a personalized look.
- Add Color: Paint or decoupage your wooden or clay charms. Use colors that match your bracelet’s beads or reflect your favorite shades.
- Incorporate Photos: Miniature photo charms can be made by sealing a small photo under a glass cabochon. This makes a heartfelt gift, especially for friends and family.
- Use Resin: Fill bezel charms with resin and embed small items like glitter, dried flowers, or beads. Once cured, resin charms are durable and glossy.
- Beaded Charms: Create tiny beaded patterns, then attach them to your bracelet as charms. Use the same beads for continuity.
- Layered Charms: Combine different materials and elements. Stack a metal charm on top of a larger wooden one for a textured effect.
By exploring these techniques, you can craft charms that make your cute bracelets ideas even more special. Experiment with various styles and find the way that best expresses your creativity.
Innovative Clasping Mechanisms for Homemade Bracelets
The clasp is a pivotal part of any bracelet. It’s not just a functional component; it can also contribute to the bracelet’s overall look and style. When making homemade bracelets, choosing the right clasp is essential. Here are some innovative clasping mechanisms that can add to your cute bracelets ideas:
- Toggle Clasps: These consist of a bar that fits into a loop, easy to fasten with one hand.
- Magnetic Clasps: Simple to use, they snap together with magnets. Great for people who find traditional clasps fiddly.
- Lobster Clasps: Shaped like a lobster’s claw, these are secure and go well with finer chains.
- Slide Lock Clasps: Good for multi-strand bracelets, they have tubes that slide together and lock.
- Button Clasps: Make use of a decorative button and a loop made from elastic or cord.
- S-Hook Clasps: An ‘S’ shaped hook that attaches to a ring, adding an artistic touch.
- Hook and Eye Clasps: A simple, rustic-looking mechanism that consists of a hook and a loop. Easy to make and attach.
Each clasp type offers a different balance of ease, security, and aesthetic appeal. When creating your DIY bracelet, consider the recipient’s preferences and the bracelet’s design before choosing a clasp. Try out different types to find the one that best fits your cute bracelets ideas. With the right clasp, your homemade bracelet will be both stylish and functional.

Maintaining and Caring for Your DIY Bracelets
Once you’ve crafted your cute bracelets, maintaining their beauty is key. Here’s how to care for them:
- Keep them dry: Moisture can damage your bracelets, so remove them before bathing or swimming.
- Store carefully: Keep bracelets in a soft pouch or jewelry box to prevent scratches.
- Avoid chemicals: Lotions, perfumes, and cleaning products can harm bracelet materials.
- Regular inspections: Check clasps and charms periodically to ensure they’re secure.
- Gentle cleaning: Use a soft cloth to wipe your bracelets clean. For tougher grime, lightly dampen the cloth.
- Restring when needed: If you notice wear on the cord or elastic, restring the beads and charms.
By following these tips, your DIY bracelets will stay as charming as the day you made them.
Inspiration and Resources to Spark Your Creativity
Seeking inspiration for your next bracelet project can be as simple as exploring your surroundings or browsing online. Here are some sources to spark your creativity and help you gather cute bracelets ideas:
- Nature: Look around you; the colors and patterns in nature can inspire beautiful designs.
- Fashion Magazines: Keep up with trends by flipping through the latest issues.
- Social Media: Platforms like Pinterest and Instagram are full of creative ideas.
- Craft Stores: Visit local shops for materials that might spark an idea.
- Online Tutorials: Watch video guides for new techniques and styles.
- Jewelry Blogs: Read about what other jewelry makers are creating.
- Art Galleries: Get inspired by the world of fine art and color compositions.
Remember, when you mix inspiration with your own style, you create something truly special. Don’t be afraid to try out different cute bracelets ideas and techniques to find what works for you. Keep an open mind, and let your creativity lead the way in your DIY bracelet crafting journey.
Tags: crafting journey, cute bracelets ideas, style and craftsmanship