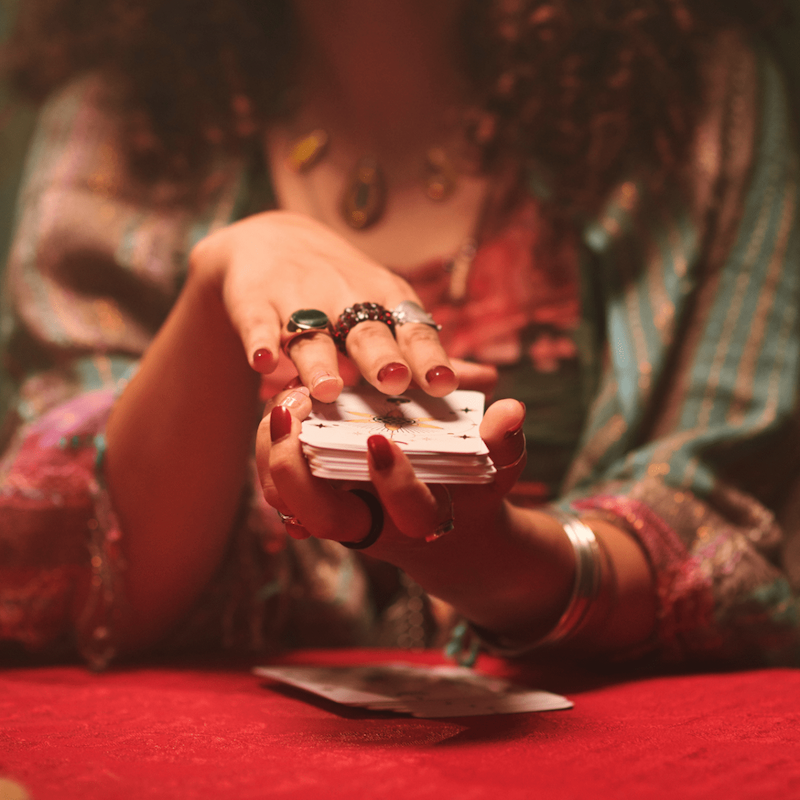
Part 1: Introduction to DIY April Fool’s Jewelry
April Fool’s Day is a time to embrace your inner prankster and have some fun. One of the most delightful ways to playfully deceive friends, family, or colleagues is through crafting your own fake gemstone jewelry. This article will guide you through creating stunning yet deceiving pieces that are sure to fool even the keenest eye. Dive into this creative journey as we explore everything from materials and techniques to tips for maximizing the prank factor. Creating DIY April Fool’s jewelry is a fun and creative way to prank your friends and family while also showcasing your artistic skills. Below are some ideas and steps to make your own humorous pieces of jewelry for April 1st.
Level 1: Understanding the Concept
DIY April Fool’s jewelry revolves around the idea of crafting items that appear genuine but are actually cleverly disguised fakes. The primary goal is to create pieces that mimic high-value gemstones or precious metals. This can range from simple costume jewelry upgrades to more elaborate designs that could pass for authentic in casual settings. The beauty of this craft lies in its deceptive charm, offering an opportunity to engage in lighthearted mischief while showcasing your creativity.
Level 2: Why Choose DIY Over Store-Bought?
Creating your own fake gems offers several advantages over purchasing pre-made items. Firstly, it allows for complete customization. You can tailor each piece to fit specific tastes or themes, ensuring uniqueness. Secondly, making your jewelry provides a sense of accomplishment and personal satisfaction. Lastly, the cost-effectiveness of DIY projects means you can produce multiple pieces without breaking the bank. These factors make homemade jewelry an attractive option for anyone looking to celebrate April Fool’s Day with flair.

Part 2: Materials Needed for Crafting Fake Gemstone Jewelry
Level 1: Essential Tools and Supplies
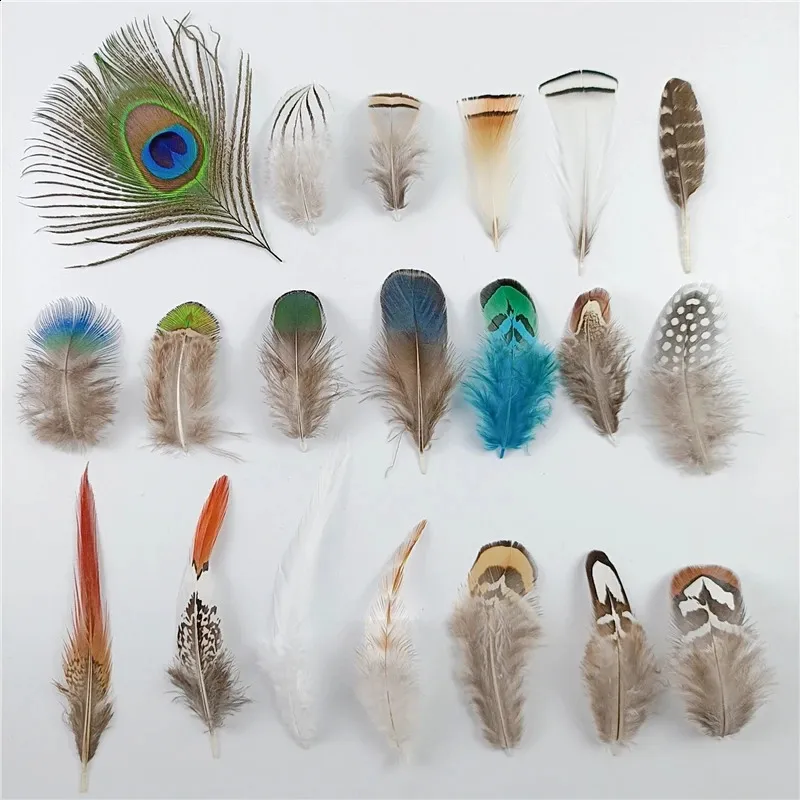
To begin your project, gather the necessary tools and supplies. Key items include clear resin or epoxy, which serves as the base material for creating the gemstones. Acrylic paints in various colors will help achieve vibrant hues similar to real stones. Additionally, molds designed for small objects like marbles or beads are essential for shaping the resin. For assembling the jewelry, you’ll need basic components such as chains, clasps, and earring backs, all of which can be found at any craft store.
Level 2: Optional Enhancements
For those seeking to enhance their creations further, consider incorporating optional elements. Glitter or mica powders can add sparkle and depth to your fake gems, mimicking the natural shimmer of diamonds or sapphires. Inclusions such as tiny air bubbles or suspended particles can replicate imperfections found in genuine stones, adding authenticity to your design. Furthermore, using specialized dyes or pigments instead of standard acrylics may yield richer, more realistic colorations.
Part 3: Techniques for Creating Realistic Fake Gemstones
Level 1: Basic Resin Casting Process
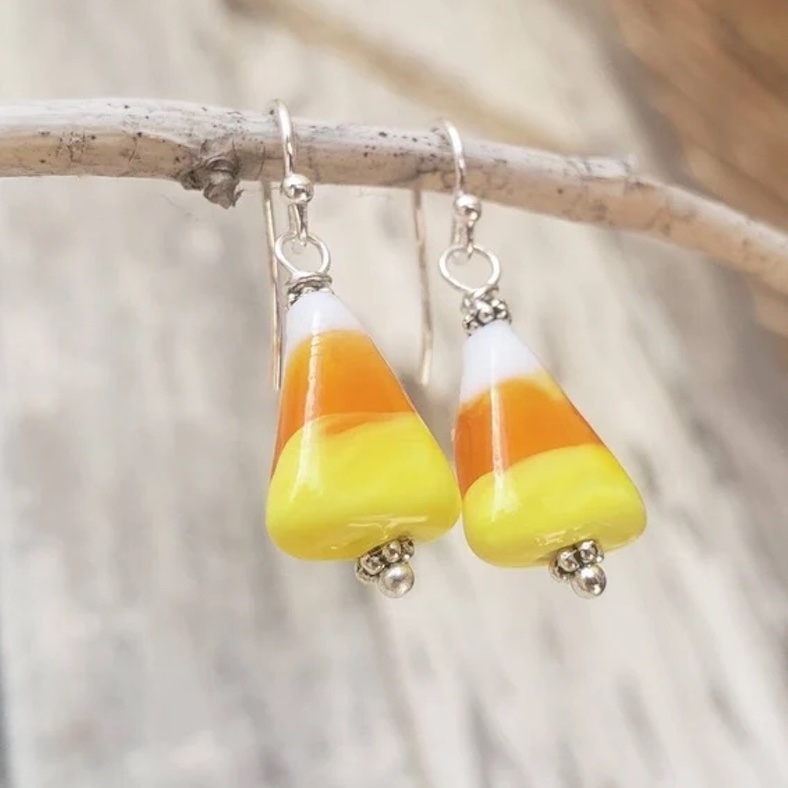
Start by preparing your workspace with protective gear and adequate ventilation. Mix equal parts of resin and hardener according to the manufacturer’s instructions. Pour this mixture into your chosen mold, filling it about halfway. Allow the initial layer to set slightly before adding colorants. Use a toothpick or skewer to swirl the paint gently within the resin, creating a marbled effect reminiscent of natural stone formations. Once satisfied with the coloring, fill the mold completely and let it cure fully, typically overnight.
Level 2: Advanced Coloring and Texturing Methods
To elevate your gemstones’ realism, experiment with advanced techniques. Layering different shades of paint within the resin can simulate gradations seen in semi-precious stones like agate or jasper. Embedding thin slices of holographic film creates an iridescent sheen characteristic of opals. Another method involves pressing dried clay shapes onto partially cured resin to form intricate patterns on the surface of the gemstone. These detailed touches contribute significantly to the overall illusion of authenticity.
Part 4: Assembling Your April Fool’s Jewelry Pieces
Level 1: Basic Assembly Steps
Once your gemstones are ready, it’s time to assemble them into wearable pieces. Begin by attaching findings such as jump rings or headpins to the back of each stone using strong adhesive or metal glue. Ensure these connections are secure to prevent accidental detachment during wear. Next, connect the findings to chains, wires, or other jewelry components based on your desired style—whether necklaces, bracelets, earrings, or brooches.
Level 2: Customizing Designs for Maximum Impact
Consider how you can customize each piece to maximize its impact as an April Fool’s prank. For instance, pairing oversized ‘diamonds’ with minimalist settings might draw attention due to their exaggerated proportions. Alternatively, embedding humorous messages or symbols within transparent sections of the gemstones adds another layer of surprise when recipients inspect their gifts closely. Playing with unexpected combinations keeps your audience guessing until they discover the truth behind your creations.
Part 5: Tips for Successfully Pulling Off Your Prank
Level 1: Maintaining the Deception
The key to a successful April Fool’s jewelry prank lies in maintaining the deception convincingly. Present your handmade pieces confidently, behaving as though they represent valuable heirlooms or recent acquisitions. Avoid revealing too much information about their origins unless absolutely necessary; curiosity often fuels disbelief. Encourage others to admire your jewelry up close, where subtle details enhancing the illusion come into play.
Level 2: Timing and Presentation Matter
Choose appropriate moments to unveil your creations for maximum effect. Surprise someone special early morning on April 1st by gifting them what appears to be an extravagant piece of fine jewelry. Alternatively, organize a group outing where everyone wears their best ‘fake’ bling, turning the day into collective amusement rather than individual embarrassment. Remember, good-natured humor thrives on shared experiences, so involve others actively whenever possible.
Part 6: Conclusion and Final Thoughts
Level 1: Reflecting on the Joy of Creation
Crafting DIY April Fool’s jewelry represents more than just a playful prank—it embodies the joy of creation and connection. Through this process, you’ve not only honed new skills but also fostered opportunities for laughter and bonding with loved ones. Each piece crafted tells a story, encapsulating both effort and intent behind its existence. Celebrating creativity alongside tradition enriches our lives immeasurably.
Level 2: Encouraging Continued Exploration
As you conclude this project, remember that crafting doesn’t end here. Explore additional avenues within jewelry-making, experimenting with alternative materials or techniques. Perhaps try integrating LED lights for glowing effects or exploring polymer clays for sculptural possibilities. Let this experience inspire future endeavors, continually pushing boundaries while enjoying every step along the way. Happy crafting, and happy April Fool’s Day!
Some Prank Tips
When someone points it out, act confused and say, “Oh, I thought you were upside down!”
Instructions
Design the Illusion: Sketch designs that play tricks on the eyes, such as:
A spiral pattern that makes it look like your finger is twisting.
A checkerboard pattern that seems to move when viewed from certain angles.
A “broken” finger design where it looks like your finger has been sliced in half.
Paint the Ring: Carefully paint your design onto the ring using acrylic paints.
Seal the Design: If desired, apply a layer of clear resin or sealant to protect the artwork.
Wear and Wait: Put on the ring and watch people do double-takes!
General Tips for DIY April Fool’s Jewelry
- Keep it light-hearted and funny!
- Test your pranks on friends who appreciate humor.
- Consider making matching sets for group jokes.
- Have fun experimenting with unconventional materials and designs.
By combining creativity and a sense of humor, you’ll have a blast surprising everyone with your unique DIY April Fool’s jewelry creations!
Tags: crafting item, Fool’s Day, gemstone jewelry