Introduction to Silver as a Jewelry Material
Silver has long been a favored material in jewelry making. Its striking sheen and versatility make it ideal for a range of designs. In this section, we will delve into why silver for jewelry making stands out as a choice for artisans and customers alike.
Silver is highly malleable, allowing jewelers to mould it into almost any shape. This plasticity is a boon for crafting intricate designs that demand precision. Moreover, silver is ductile, which means it can stretch into thin wires without breaking, perfect for creating delicate filigree work.
Another advantage of using silver is its natural luster. With proper polishing, silver jewelry can achieve a mirror-like finish that catches the light beautifully. However, silver is not just about looks. It also has an inherent value, often increasing the overall worth of the piece.
One should also understand the variations of silver available. Sterling silver, composed of 92.5% silver and 7.5% other metals, is commonly used due to its durability. Fine silver, with a higher silver content of 99.9%, is softer and requires delicate handling.
In summary, silver’s malleability, ductility, luster, and inherent value make it a top pick for jewelers. The right silver alloy can enhance both the durability and beauty of the finished piece. As we move forward, we’ll explore the essential tools and techniques you need to work with this precious metal effectively.

Essential Tools and Supplies for Silver Crafting
When working with silver for jewelry making, having the right tools and supplies is crucial. These essentials are core to crafting beautiful, high-quality pieces. Here is a list of the must-have items for any silver artisan:
- Jeweler’s Saw: Necessary for cutting out intricate designs in silver sheets.
- Files and Sandpaper: For smoothing edges and refining shapes.
- Soldering Equipment: Includes a torch, solder, flux, and pickling solution for joining silver components.
- Hammers and Anvils: Used to form and texture the silver.
- Pliers and Tweezers: Aid in bending and holding pieces as you work.
- Polishing Cloths and Compounds: For achieving that perfect shine on your finished pieces.
- Work Surface: A dedicated, sturdy bench will provide a stable workspace.
- Measuring Tools: Calipers and rulers help ensure accuracy in your designs.
- Safety Gear: Always wear protective eyewear and gloves to safeguard against accidents.
These tools form the backbone of your silver crafting setup and will enable you to handle a vast array of projects. From cutting and shaping to joining and polishing, you’ll be equipped to take on the technical challenges of working with silver. Remember to invest in quality tools; they make the process more efficient and can improve the finish of your jewelry. As you gather your supplies, keep in mind that maintenance is important. Regularly clean and organize your tools for long-lasting use and better precision in your crafting.
Techniques for Cutting and Shaping Silver
Cutting and shaping are vital skills in silver for jewelry making. Here are some key techniques:
- Marking the Silver: Use a scribe to mark designs on silver sheets before cutting.
- Sawing: Hold the jeweler’s saw upright and use gentle, steady strokes to cut along marked lines.
- Filing: After sawing, refine the edges with a file to smooth any roughness.
- Hammering: To shape silver, gently tap with a hammer over an anvil.
- Annealing: Heat the silver to soften it, making it easier to shape.
- Cold Working: Techniques like bending and folding are done on unheated silver for crisp angles.
Each technique requires practice for mastery. Start with simple shapes and progress to complex patterns. Always prioritize safety when using tools, and keep your work surface clean to avoid accidents. Perfect these techniques and your silver jewelry will stand out with its precision and elegance.
Soldering Basics for Silver Jewelry Projects
Mastering the art of soldering is critical when working with silver for jewelry making. This process joins together two pieces of silver to create a single, seamless piece. Below are key steps and tips for effective soldering:
- Prepare Your Materials: Start by ensuring that the silver pieces you wish to join are clean and fit tightly together without gaps.
- Apply Flux: Flux prevents oxidation during heating. Brush it on the areas to be soldered.
- Cut the Solder: Measure and cut small pieces of solder appropriate to the size of the joint.
- Arrange the Silver: Place the silver pieces on a heat-resistant surface, positioning the solder where the seam will be.
- Heat Evenly: Use a torch to heat the pieces evenly until the solder flows and the seam is filled.
- Cool and Clean: Allow the silver to cool before placing it in a pickling solution to clean off any oxidation.
For beginners, it may take some practice to master the heat control required for soldering silver for jewelry making. Remember to work in a well-ventilated area and wear safety gear to protect your eyes and hands from heat and fumes. With patience and practice, you’ll be able to confidently solder silver and create intricate and durable jewelry designs.
Polishing and Finishing: Achieving the Perfect Shine
After shaping and soldering your silver for jewelry making, it’s time to polish and finish. This step is crucial for giving your jewelry a professional and attractive look. Effective polishing removes any marks or blemishes and brings out the metal’s natural shine. Here are some tips for achieving the perfect shine:
- Start with a Coarse Grit: Begin with a coarse grit sandpaper to remove the biggest scratches. Make sure to sand evenly.
- Move to Finer Grits: Progress to finer grits of sandpaper or polishing cloths. This step smooths the silver’s surface further.
- Use Polishing Compounds: Apply a polishing compound designed for silver. Rub it onto the surface in circular motions.
- Buff to a Shine: Use a soft, lint-free cloth to buff the silver. Buffing brings out the high shine.
- Rinse and Dry: After polishing, rinse the piece with water. Dry it thoroughly to prevent water spots.
- Inspect Your Work: Check your jewelry under good lighting. Look for any missed spots and buff again if needed.
Remember, the key to a beautiful finish is patience and attention to detail. Work slowly through the grit levels and take the time to buff the piece to a high gloss. With the right approach, your silver jewelry will boast a mirror-like finish that enhances its overall appeal. Keep tools and materials clean to maintain the quality of your polish over time.

Understanding Silver Alloys: Sterling Silver vs. Fine Silver
When selecting silver for jewelry making, it’s imperative to understand the differences between sterling silver and fine silver. Each type has unique properties that affect the crafting process and the final piece’s appearance and durability.
Sterling Silver
Sterling silver is an alloy of 92.5% silver and 7.5% other metals, usually copper. The addition of other metals enhances its strength, making it ideal for everyday wear. It is less prone to scratches and dents, holding up well over time. For jewelers, sterling silver is often preferred because it’s easier to work with and more durable than its finer counterpart.
One thing to note is that sterling silver can tarnish over time. Regular polishing and proper storage can help maintain its luster. This alloy is marked with a ‘925’ stamp, a good indication of its authenticity and silver content.
Fine Silver
On the other hand, fine silver boasts a higher purity level, with a silver content of 99.9%. Its superior purity gives it a brighter shine and a whiter color compared to sterling silver. However, its softness makes it less ideal for pieces that endure regular handling or stress. Fine silver is more susceptible to warping and scratching and is best used for pieces that won’t face strenuous wear.
Despite these considerations, fine silver is highly valued for its minimal risk of causing allergic reactions and its tarnish-resistant quality. Its purity is often showcased by a ‘999’ or ‘fine silver’ stamp on the jewelry.
Choosing the Right Alloy
As a jewelry artist, your choice between sterling silver and fine silver will depend on the design’s requirements, the piece’s intended use, and personal preference. Sterling silver is practical for durable, everyday jewelry, while fine silver might be reserved for more delicate or occasional wear pieces.
In conclusion, knowing the characteristics of each silver alloy allows you to make informed decisions in your crafting process. Whether you choose sterling silver for its durability or fine silver for its purity and brilliance, each has its place in the art of jewelry making.
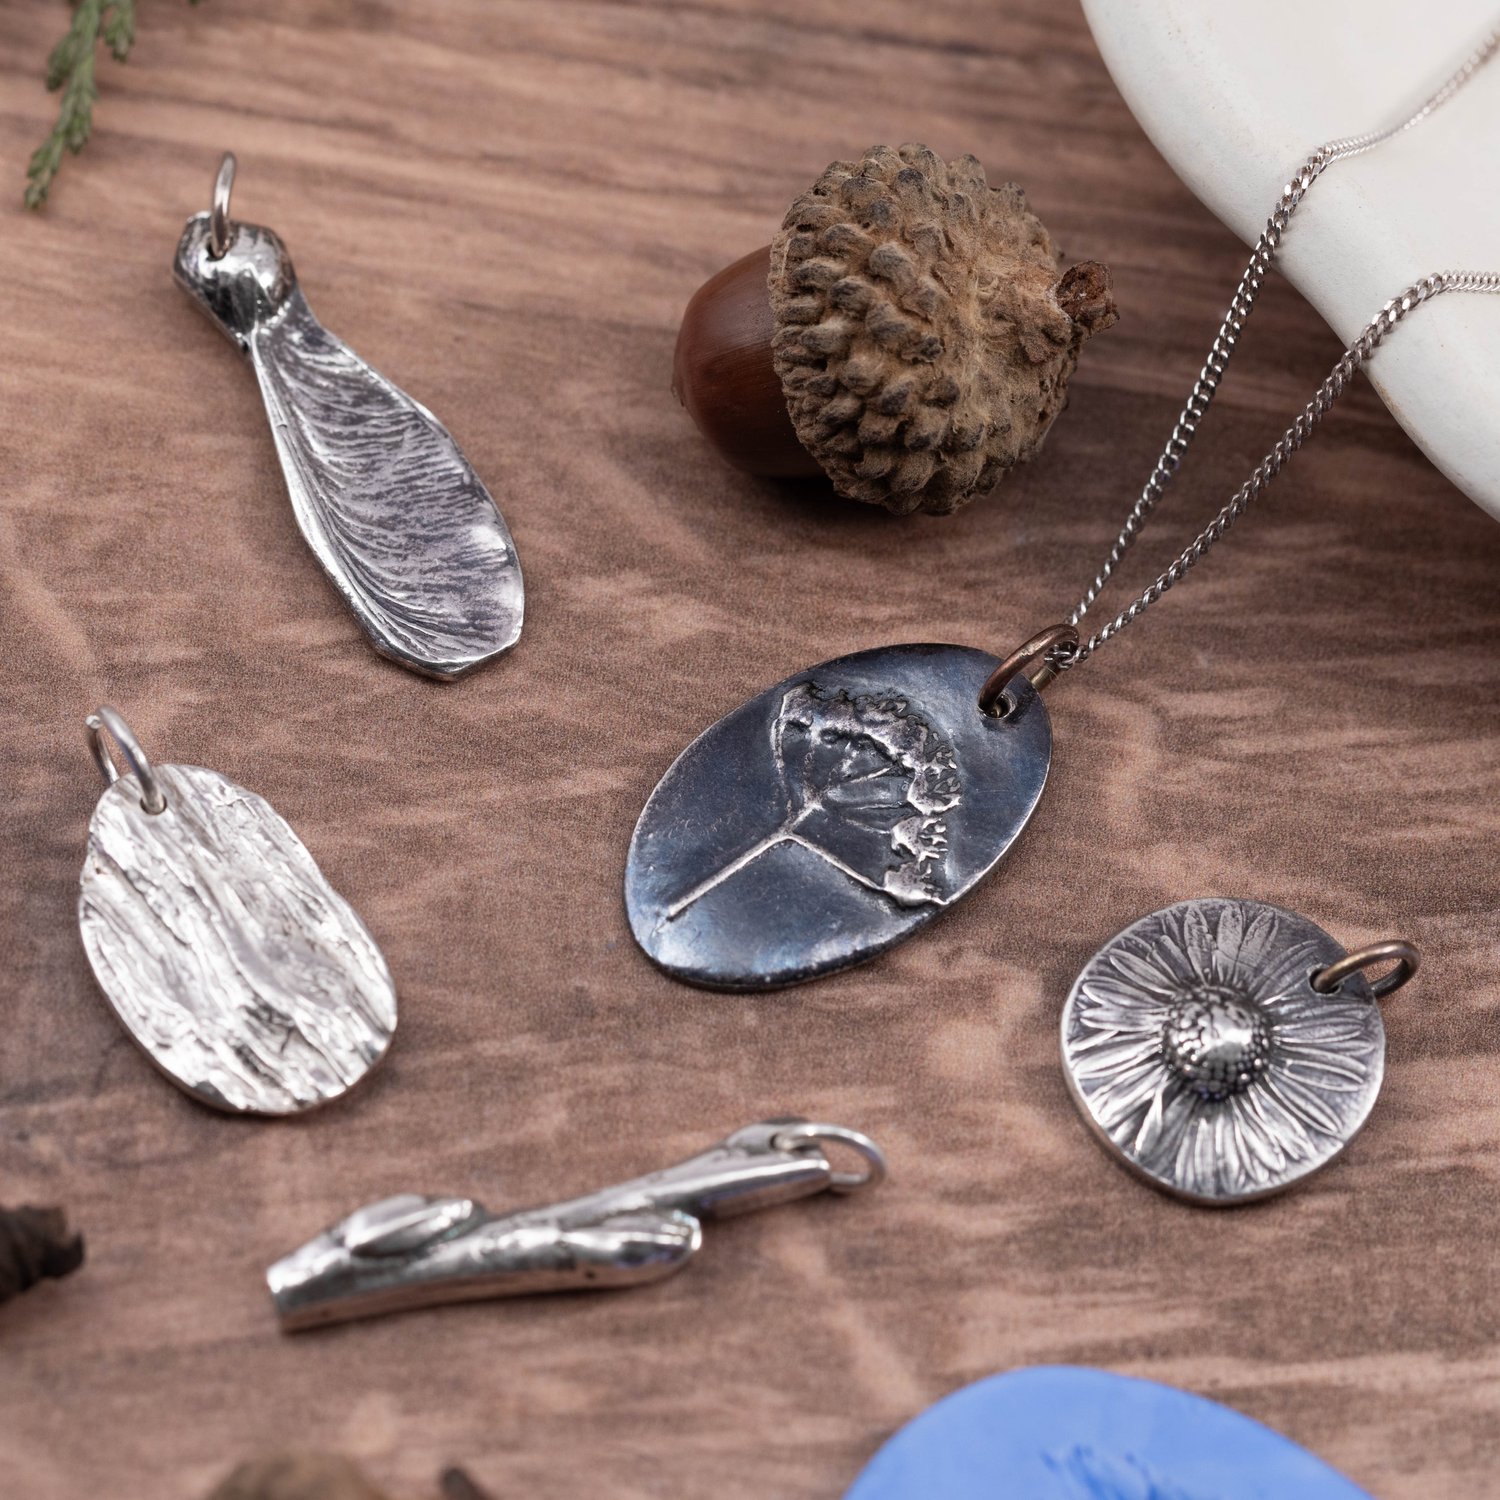
Creative Design Ideas for Silver Jewelry Pieces
Innovative design is at the heart of stunning silver jewelry. Here are some creative ideas:
- Combine Textures: Mix polished, hammered, and matte finishes to add visual interest.
- Incorporate Gemstones: Set colorful gemstones into silver to create eye-catching pieces.
- Play with Shapes: Experiment with geometric or organic shapes for modern or natural looks.
- Personalization: Offer customers personalized engravings or custom designs in silver.
- Layering: Design pieces that can be layered together, like stackable rings or pendants.
- Movable Parts: Create jewelry with components that move or change, for interactive appeal.
When dreaming up designs for silver for jewelry making, let your creativity run wild. Embrace trends but also try to offer timeless pieces that appeal to a broad audience. Keep refining your skills and techniques to bring intricate and original designs to life. Your unique creations will speak to the quality and craftsmanship of your work, capturing the hearts of jewelry enthusiasts everywhere.
Tips for Maintaining and Storing Silver Jewelry
Preserving the beauty of silver jewelry over time involves proper care and storage. Here are some essential tips for maintaining and storing your silver creations:
- Keep It Dry: Store silver in a dry place to prevent tarnishing. Moisture triggers oxidation.
- Use Anti-Tarnish Strips: These strips absorb tarnish-causing elements. Place them where you store your jewelry.
- Wear Regularly: Wearing silver jewelry often can actually help keep it polished. The skin’s natural oils reduce tarnish.
- Gentle Cleaning: Clean silver with a soft, lint-free cloth. This removes buildup without scratching the surface.
- Avoid Chemicals: Keep silver away from household chemicals and perfumes. These can speed up tarnishing.
- Separate Storage: Separate each piece to avoid scratches. Use soft cloth pouches or individual compartments.
- Polish Properly: Use a silver-specific polish and follow the instructions carefully to avoid damage.
- Airtight Containers: Store silver pieces in airtight containers to slow down the tarnishing process.
By following these tips, you can ensure your silver jewelry remains lustrous and captivating. Regular maintenance and proper storage will protect your designs and keep them ready to wear at a moment’s notice.
Tags: intricate designs, jewelry making, natural luster, silver for jewelry making