Gathering Materials for Your Beaded Bracelet
When making bracelets with beads, starting with the right materials is key. Here’s a simple guide to gather everything you need for your beaded bracelet project.
- Beads: Choose beads that fit your style. You might select colorful glass beads, elegant ceramic beads, or lightweight wood beads. The variety influences your bracelet’s look and feel.
- Elastic Cord: Opt for a stretchy elastic cord. Making bracelets with beads is easy. The cord comes in various thicknesses. Use a thicker cord for heavier beads and a thinner one for lighter beads.
- Scissors: You’ll need sharp scissors to cut the elastic cord to the desired length.
- Ruler or Measuring Tape: This will help you measure the elastic cord precisely.
- Glue (Optional): Some crafters like to use jewelry glue to secure the knot. Choose a glue with a fine-tip applicator for easy use.
- Crimp Covers (Optional): These are great for covering the knot, giving your bracelet a neat finish.
- Bead Board (Optional): A bead board can help you layout your design before stringing, although it’s not essential.
- Charm (Optional): Adding a charm can personalize your bracelet. Make sure to have the necessary attachments like a jump ring when making bracelets with beads.
Ensure you have ample workspace to lay out these materials. With everything in place, you’re ready to start crafting!
Measuring and Preparing the Elastic Cord
When you start making bracelets with beads, measuring your elastic cord correctly is crucial. Here’s a step-by-step process to ensure you cut the perfect length:
- Wrap the Elastic: First, wrap the elastic cord loosely around your wrist. It should be snug but not tight.
- Mark the Measurement: While holding the elastic on your wrist, mark where the end meets the rest of the elastic. Use a pen for a visible mark.
- Add Extra Length: Add about 2 to 3 inches to this measurement. This extra length allows room for tying the knot and adjustments.
- Cut the Elastic: Using your scissors, cut the elastic cord at the measured length. Ensure your scissors are sharp for a clean cut to prevent fraying.
- Pre-Stretch the Elastic: Stretch the elastic cord several times. This step helps to eliminate any further stretching after the bracelet is made, ensuring a better fit over time.
By carefully measuring and preparing your elastic cord, you create a strong foundation for your beaded bracelet. This ensures that your bracelet not only fits well but also stands up to wear and tear.
Selecting Beads and Designing Your Bracelet
Choosing the right beads is crucial for the aesthetic of your bracelet. Here’s how to select and design with beads:
- Consider Bead Size and Weight: Larger, heavier beads need thicker elastic. Lighter beads work fine with thinner elastic.
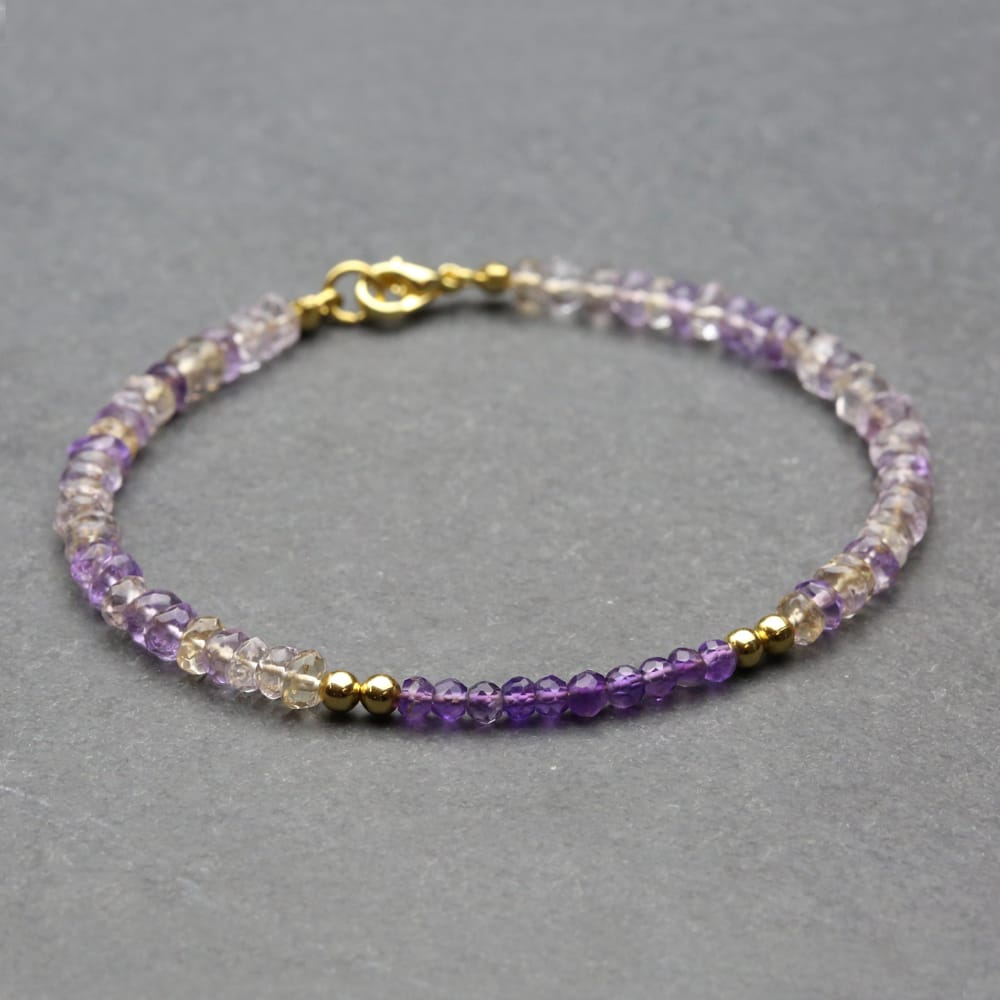
- Think About Color and Texture: Mix and match different colors and textures for a unique look.
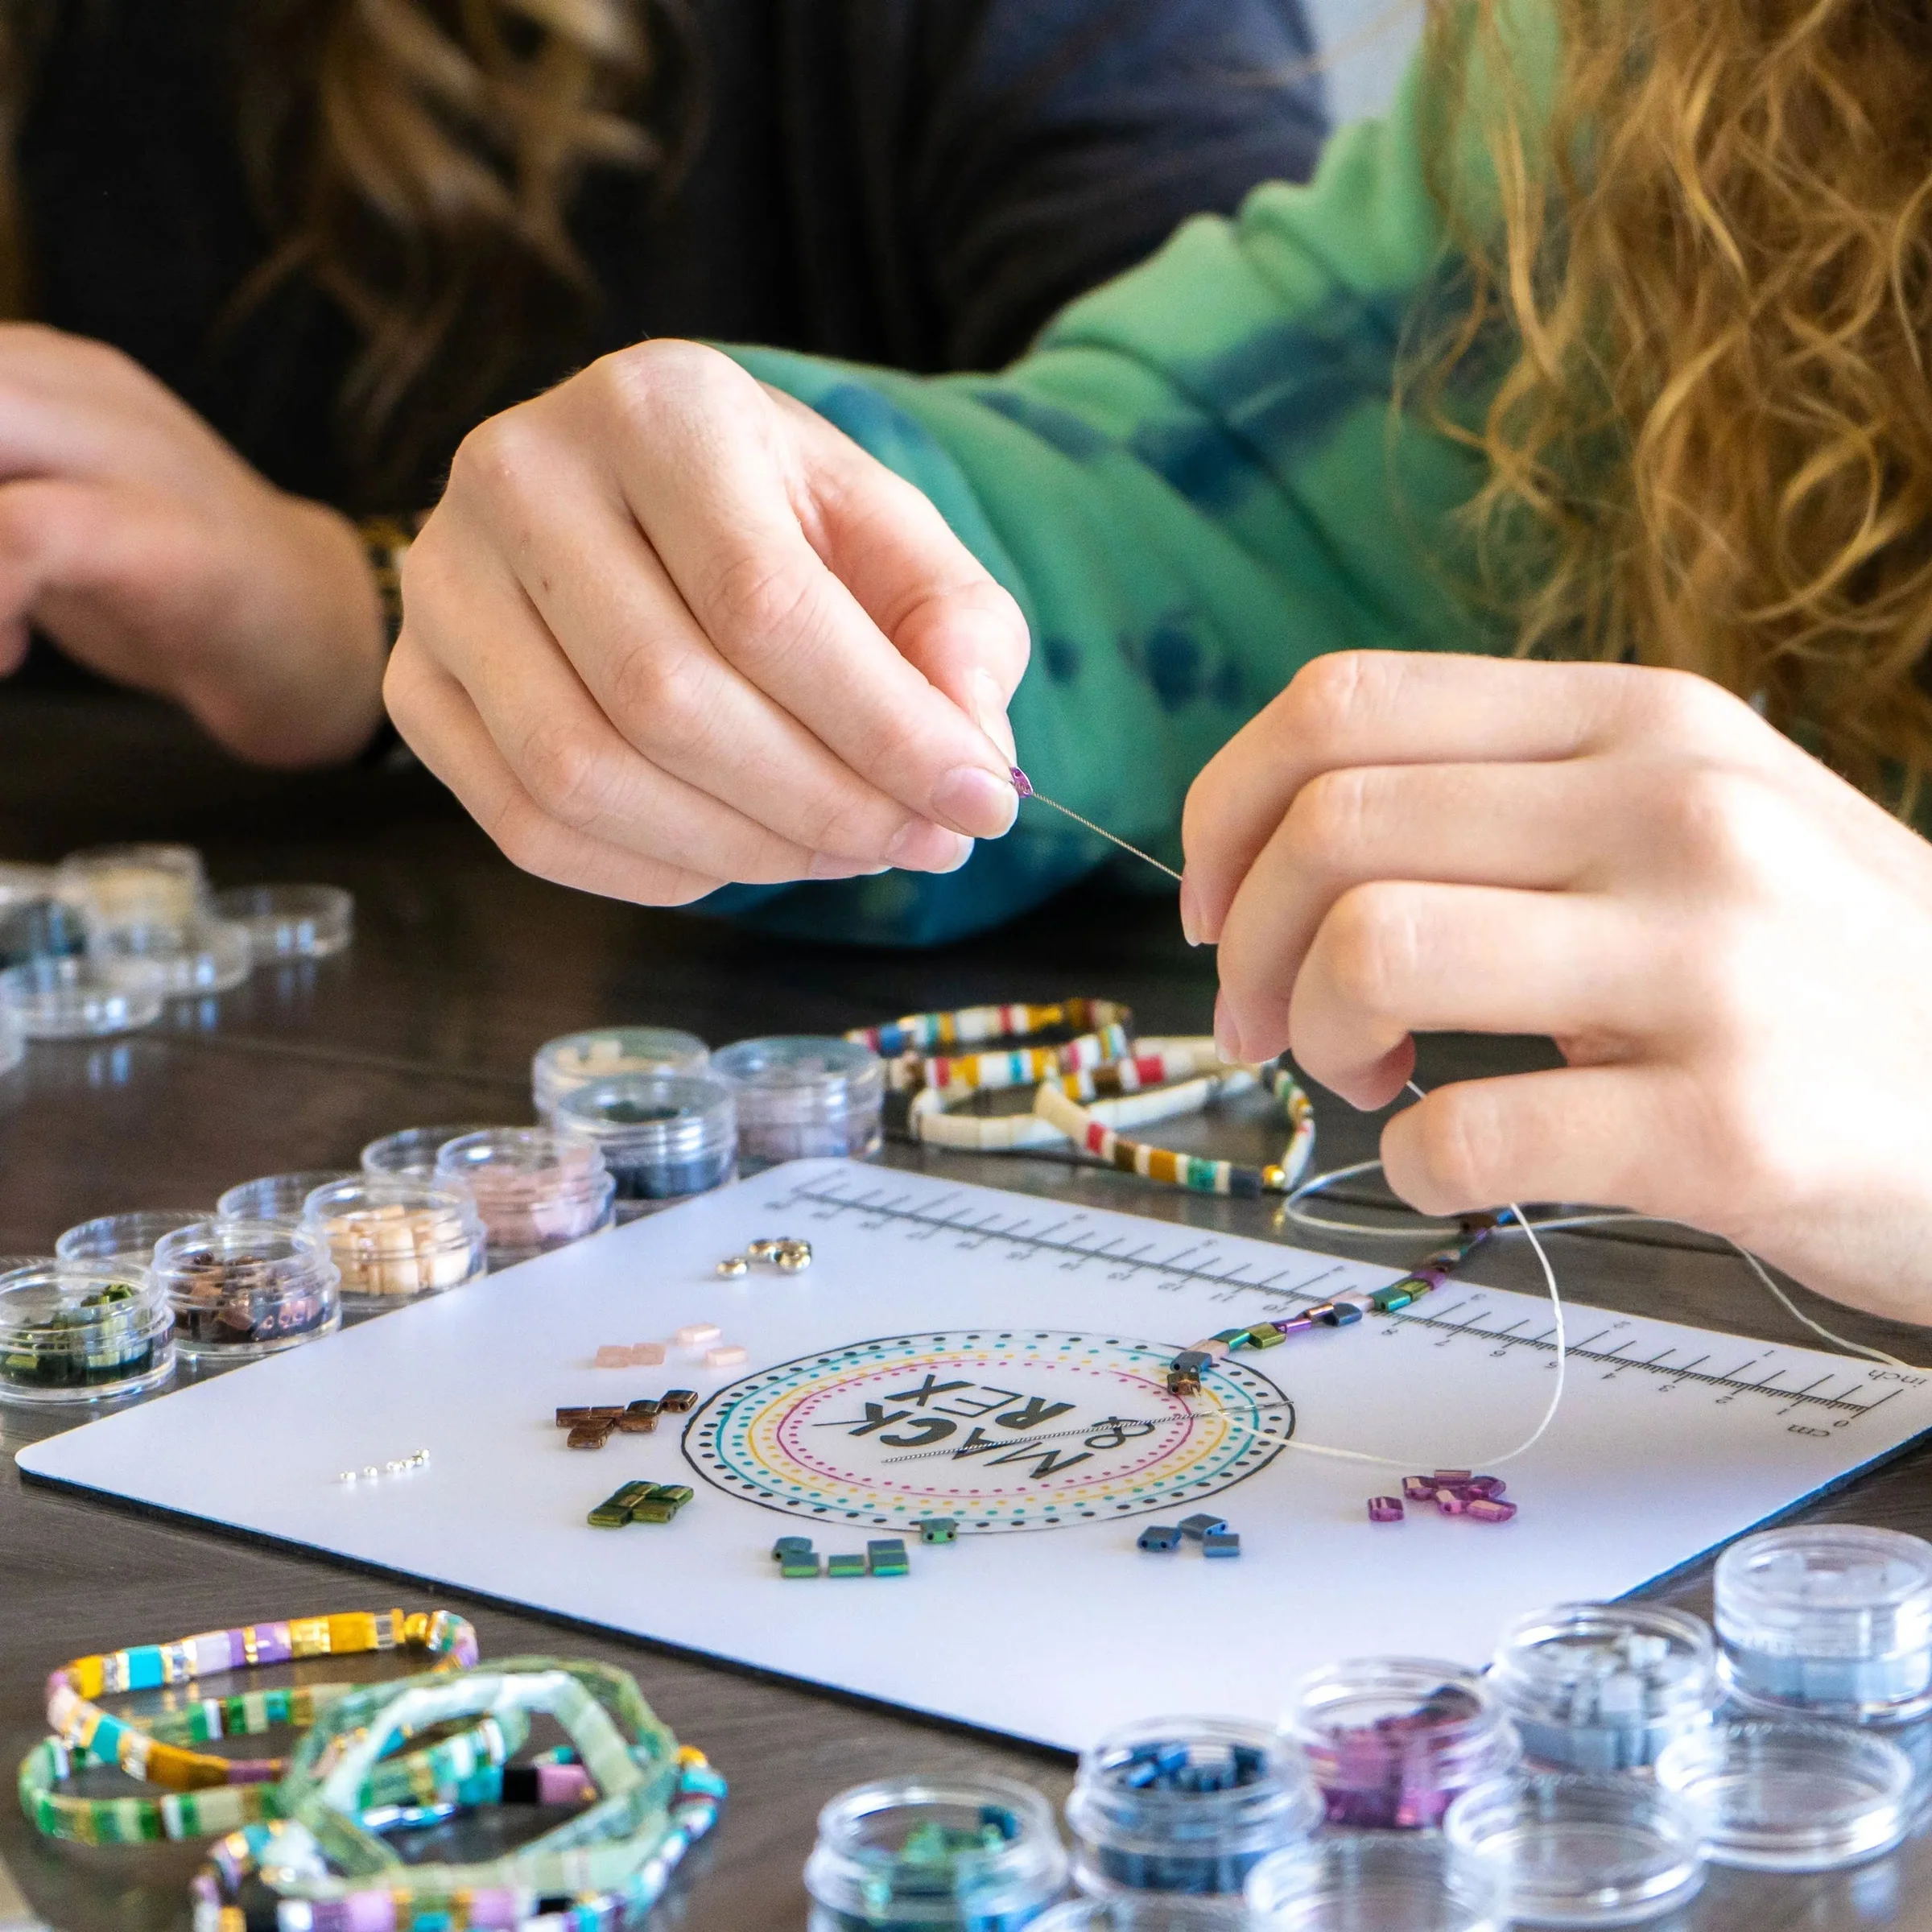
- Plan Your Design: Lay out your beads on a flat surface or bead board to visualize the final look. Make sure they balance pleasantly.
- Balance the Weight: If using beads of different weights, distribute them evenly. This prevents the bracelet from twisting on your wrist.
- Add a Personal Touch: Incorporate a charm or special bead to personalize your bracelet.
- Test Your Design: Arrange the beads and adjust the design until you’re satisfied with the look and feel of making bracelets with beads.
Remember, designing a bracelet is a creative process. Enjoy mixing various elements to create a piece that truly reflects your style.
Stringing Beads onto the Elastic Cord
Stringing beads onto the elastic cord is a creative and fun process. Here are simple steps to follow:
- Secure One End: Before adding beads, secure one end of the cord. You can use a bead stopper, a small piece of tape, or tie a small bead at the end. This prevents beads from slipping off.
- Add Beads: Begin stringing beads in the order you planned. If using a charm, decide where it should go and add it using a jump ring.
- Check the Design: As you add beads, occasionally check the pattern. Make sure the design looks as expected.
- Monitor Length: Measure the bracelet as you go. Ensure it matches the length you need for your wrist.
- Keep Tension Even: Apply consistent tension to the cord. This avoids gaps between beads and ensures a snug fit.
- Balance Weight: If mixing heavy and light beads, spread them evenly. It will help the bracelet sit comfortably.
- Last Bead: Once all beads are on, add a large-hole bead if covering the knot. This hides the knot later.
These steps help in creating a well-made beaded bracelet with stretchy elastic cord.
Tying and Securing the Knot
Properly tying and securing the knot in a beaded bracelet is crucial to ensure that it remains intact and comfortable to wear. Here are straightforward steps to follow:
- Choose the Right Knot: Use a surgeon’s knot for securing your beaded bracelets. This knot is robust and less likely to come undone.
- Tie the Knot: After stringing all your beads, bring the ends of your elastic cord together. Loop one end over and through, forming a basic knot. Then loop the end through again to form the surgeon’s knot.
- Pull Tightly: Gently but firmly pull on both ends of the elastic to tighten the knot. Ensure it’s snug against the beads without causing the elastic to stretch excessively.
- Test the Security: Give the bracelet a gentle tug to ensure the knot holds securely. If it slides or loosens, retie it making sure it’s tighter.
- Trim Excess Elastic: Use scissors to trim the excess elastic close to the knot. Leave about a quarter-inch tail to prevent fraying.
By securely tying and checking the knot, you ensure the durability of your beaded bracelet. These steps help maintain the bracelet’s shape and ensure that it comfortably fits your wrist without falling apart.
Applying Glue for Added Durability
To make sure your bracelet lasts, you’ll want to apply glue to the knot. Here’s how to do this step-by-step:
- Select the Right Glue: Use jewelry glue with a fine tip. This helps you apply it just where it’s needed.
- Apply a Small Amount: Put a tiny drop of glue on the knot you created. This keeps it secure.
- Let it Dry: Give the glue enough time to dry completely. Check your glue’s instructions for how long this takes.
- Check the Knot: After the glue dries, pull on the knot gently. Make sure it does not come loose.
- Extra Security: For heavier beads, you might need a bit more glue. Just be careful not to overdo it.
Using glue adds strength to your beaded bracelet, making it sturdy for everyday wear.
Adding Finishing Touches with Crimp Covers
After you’ve tied and secured your bracelet’s knot, adding crimp covers can give it a polished look. These little findings neatly conceal the knot, adding a professional touch to your handmade piece. Here’s how to add crimp covers to your beaded bracelet:
- Choose the Right Size: Make sure your crimp covers are the right size for your knot.
- Position the Crimp Cover: Open the crimp cover and slide it over the knot on your bracelet.
- Close the Crimp Cover: Using the crimp cover pliers, gently close the crimp cover around the knot. Be careful not to squeeze too hard.
- Check the Placement: Ensure the crimp cover is secure and covers the knot completely.
- Trim Excess Elastic: Carefully cut the extra elastic close to the crimp cover with scissors.
- Examine the Finish: Look over your bracelet to ensure the finish is clean and that there are no sharp edges.
Using crimp covers not only protects the knot from wear but also adds a neat, finished appearance. Remember to handle the crimp covers gently to maintain the integrity of your beaded bracelet.
Wearing and Caring for Your Beaded Bracelet
After making bracelets with beads, proper wear and care are essential. Here’s a simple guide to keep your bracelet looking great:
- Roll On and Off: Don’t stretch the bracelet when putting it on. Roll it over your hand carefully.
- Keep Dry: Try to avoid getting your bracelet wet. Water can weaken the elastic over time.
- Store Safely: When not in use, keep your bracelet flat in a jewelry box or pouch.
- Avoid Chemicals: Lotions, perfumes, and cleaning agents can damage beads and elastic. Apply them before wearing your bracelet.
- Clean Gently: If your bracelet needs cleaning, use a soft cloth. Wipe gently without using water or chemicals.
- Regular Check: Inspect the bracelet often. Look for signs of wear on the elastic and beads.
- Limit Stretching: Be mindful not to overstretch the elastic when wearing or handling your bracelet.
By following these tips, making bracelets with beads can last longer and maintain its beauty.
Tags: aesthetic, making bracelets with beads, step-by-step process


