Introduction to Bracelet Making
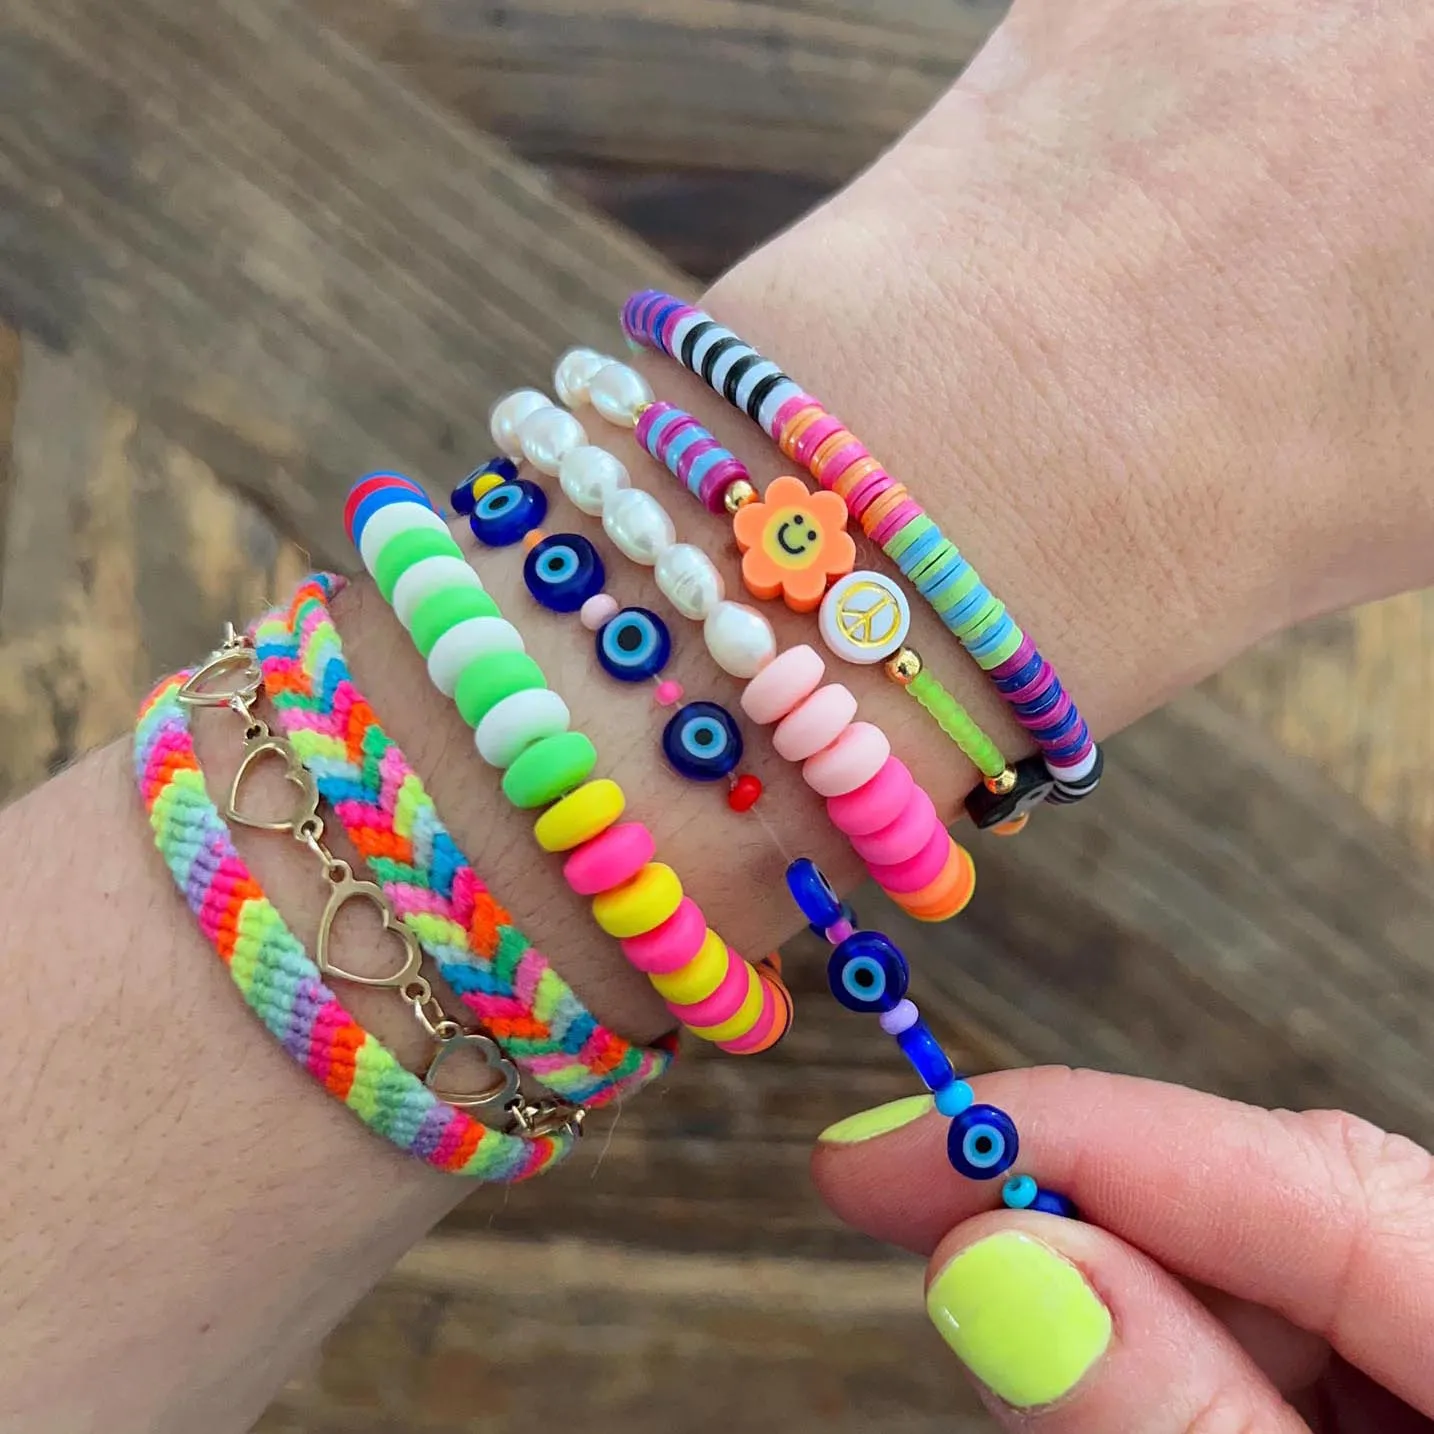
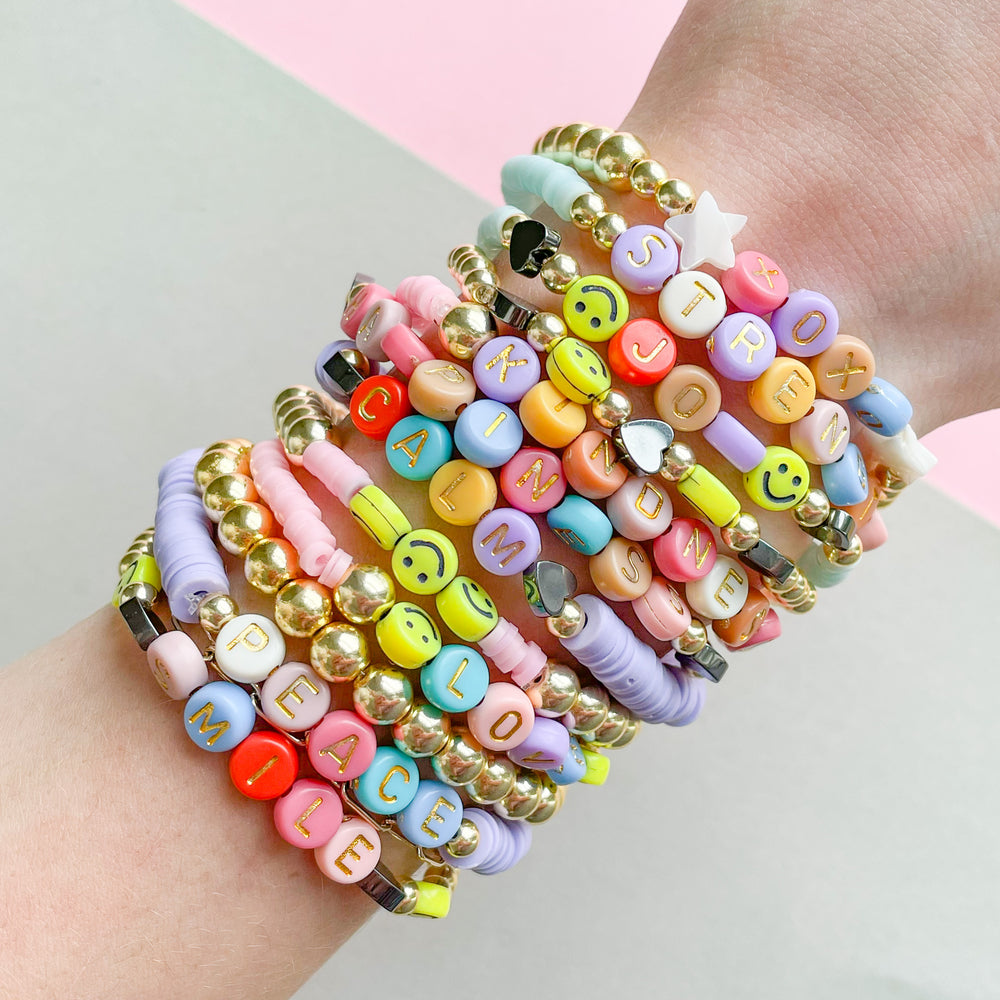
Making bracelets is a creative and fun activity that anyone can enjoy. It’s a way to express personal style, make unique gifts for friends, and even develop fine motor skills. With just a few simple materials and techniques, you can start creating your own beautiful beaded bracelets.
Importance of Bracelet Making
Bracelet making is more than a craft; it’s a form of self-expression. It allows you to convey your personality through the colors and patterns you choose. Designing bracelets can also be therapeutic, providing a relaxing break from the busyness of life. For many, it’s a rewarding hobby that offers a sense of accomplishment when the final piece is complete.
Materials Needed for Beaded Bracelets
To begin making beaded bracelets, you’ll need some basic supplies. Essential materials include elastic cord, a variety of beads, scissors, and glue for securing knots. As you advance, you can incorporate crimp covers and charms to give your bracelets a more polished look. With these materials in hand, you’re ready to start your journey into bracelet making.
Choosing the Right Elastic and Beads
Types of Elastic for Bracelets
When you decide to make bracelets, the type of elastic you choose is crucial for durability and comfort. Here’s a concise guide on various elastic types:
- Standard Elastic Cord: This is the most common type. It’s flexible and easy to tie.
- Stretch Magic: It’s slightly stiffer, which helps in maintaining the bracelet’s shape.
- Fabric-covered Elastic: Great for those with sensitive skin, as it’s softer and more comfortable.
Make sure you pick the right thickness too, typically ranging from 0.5mm to 1mm, which balances durability and ease of bead threading.
Selecting Beads for Your Design
Choosing the right beads can transform a simple bracelet into a stunning piece. Here are some tips for bead selection:
- Color Coordination: Consider a color scheme or how the colors interact with each other.
- Bead Size and Shape: Mix different sizes and shapes for a textured look, or stay uniform for a streamlined aesthetic.
- Material Types: Options include glass, wood, metal, or plastic. Each material has its own feel and weight.
Use these points as a guide when you create your next bracelet project. Proper selection of elastic and beads will enhance your designs and ensure your bracelets are both beautiful and functional.
Preparing to Make Your Bracelet
Before starting your bracelet project, preparation is key to ensure a smooth crafting session.
Measuring Your Wrist Correctly
Measuring your wrist is the first step. Use a flexible measuring tape. Wrap it around your wrist snugly. Make sure it’s not too tight or too loose. Note down the measurement. This will guide the length of your bracelet.
Organizing Your Workspace
Clear and organize your workspace. Gather all necessary materials like beads, elastic, scissors, and glue. Arrange them within easy reach. A tidy space helps streamline the bracelet-making process. Having everything organized can reduce interruptions and make the crafting experience more enjoyable.
Step-by-Step Guide to Making Beaded Bracelets
Creating a beaded bracelet is simple with the right approach. Follow this step-by-step guide to craft your own stunning piece.
Threading Beads onto Elastic
- Cut elastic cord to the desired length, adding a few extra inches for knotting.
- Pre-stretch the elastic to prevent future sagging.
- Secure one end with a clip or tape to avoid beads slipping off.
- Thread beads onto the elastic, following your design.
- Check the fit by wrapping the bracelet around your wrist.
Techniques for Securing Beads
- Periodically pull the elastic snug to maintain tight bead placement.
- Use spacer beads or knots to lock beads in position if desired.
- Maintain a consistent bead pattern for a uniform look.
- Double-check bead alignment before finishing.
By following these simple steps, you’ll create a well-crafted beaded bracelet that’s both stylish and sturdy. Ensure that the beads are secure and that the elastic has the right tension for optimal wear.
Knotting Techniques for Bracelet Closure
Properly closing your bracelet is crucial to ensure it wears well and stays secure.
How to Tie a Surgeon’s Knot
To tie a surgeon’s knot, follow these simple steps:
- Lay the ends of the elastic over each other.
- Pass one end under the other twice to form a strong base knot.
- Cross the left end over and then under the right, pulling both ends to tighten.
- Pull both ends again to fully secure the knot.
A surgeon’s knot is ideal for bracelet closures because it’s more secure than a standard knot.
Securing the Knot with Glue
After tying the knot, add a small dab of jewelry glue on it. This will lock the knot in place, preventing it from unraveling. Allow the glue to dry completely before wearing your bracelet.
This additional security ensures that the bracelet remains intact during wear and can extend its longevity.
Finishing Touches and Decoration
Adding the right finishing touches can elevate your bracelet’s look to a professional level. Whether you want to incorporate a bit of flair or ensure the ends are expertly finished, understanding how to effectively use charms, tassels, and crimp covers is essential.
Adding Charms and Tassels
Charms and tassels add personality and movement to your bracelets. Here’s how to attach them:
- Choose charms or tassels that complement your bracelet’s design.
- If using charms, attach them with jump rings or directly thread them onto the elastic before adding beads.
- For tassels, tie them securely at the ends of the bracelet or between beads.
- Ensure these additions do not affect the wearability or comfort of the bracelet.
By incorporating these elements, your bracelet will not only look more decorative but also more personalized.
Using Crimp Covers for Professional Finish
Crimp covers are great for giving your handmade bracelets a clean, finished look. Here’s how to use them:
- After tying your final knot, place a crimp cover over the knot.
- Use crimp cover pliers to gently close the cover around the knot.
- Ensure the crimp cover fully encases the knot and stays securely in place.
This method prevents the ends from fraying and gives your bracelet a much more polished appearance. With these finishing touches, your bracelets are all set to wear or give as unique, handmade gifts.
Creative Ideas and Patterns
Exploring different bead patterns can transform a simple bracelet into a work of art.
Simple and Complex Bead Patterns
Start with simple patterns such as alternating colors or using different size beads in sequence.
Next, try more complex patterns like a chevron, spiral, or even a beaded flower.
Use the provided tutorials or books as guides to mastering various patterns.
Incorporating Colors and Textures
Choosing the right colors can give your bracelet a personal touch.
Combine matte and shiny beads for a textured effect.
Play with color gradients or complementary colors to make the pattern pop.
Don’t be afraid to mix materials, such as combining wood with metal beads.
Experimentation is key to finding the perfect color and texture combination for your design.
Troubleshooting Common Issues
Creating beaded bracelets with elastic can be rewarding. Yet, sometimes, you may encounter a few snags.
Handling Elastic Stretching
Stretching is common with elastic bracelets. To handle this:
- Pre-stretch the elastic before beading. Pull it firmly a few times.
- Cut a longer piece of elastic. It gives allowance for any future stretching.
- Choose quality elastic. It resists stretching better than cheaper alternatives.
Following these tips, your elastic should maintain its shape for longer.
Dealing with Loose Beads
Loose beads can compromise your bracelet’s design. If this happens:
- Add a small bead, known as a stopper bead, at both ends.
- Tighten knots between beads. Ensure even spacing to prevent sliding.
- Use a stronger type of elastic or double up for extra security.
By implementing these suggestions, beads should stay in place, and bracelets will hold up with use.
Additional Resources and Inspiration
After mastering the basics of making beaded bracelets, you may seek more ideas and techniques.
Books and Guides on Bracelet Making
Books can provide detailed designs and step-by-step illustrations. Look for titles like:
- ‘The Beaded Bracelet: Beadweaving Techniques & Patterns for 20 Eye-Catching Projects’ by Carole Rodgers
- ‘Brilliant Bead Rings’ by Klutz, ideal for beginners wanting to expand their skills
These guides offer an array of patterns ranging from simple to intricate.
Online Tutorials and Communities
Online resources are invaluable. YouTube has tutorials for all skill levels. Search terms like ‘make bracelets tutorial’ for videos. Join online forums or craft groups on social media for more personalized advice. Websites like Craftsy or Pinterest provide plenty of creative inspiration. Such communities can help troubleshoot issues and share success stories.
By combining these resources, you can continue to enjoy bracelet making. You’ll discover new patterns, ideas, and a community of crafters just like you.
Tags: beaded bracelets, bracelet’s design, make bracelets


