Introduction to Bracelet Knotting
Bracelet knotting is a captivating form of craftsmanship. It blends creativity with skill to create unique jewelry pieces. For beginners and seasoned artisans alike, understanding the basics of knots for bracelets is key to the art. The journey begins with simple twists and loops. Over time, these evolve into intricate designs that dazzle the eye. This guide serves as a starting point for anyone eager to dive into the world of bracelet knotting.
The process begins with selecting the perfect cord. It then moves on to mastering basic knots. After that, it progresses to more advanced decorative knots for bracelets. Bracelet knotting is more than just tying; it’s an expression of personal style. With patience and practice, you can transform a simple string into a statement piece. Whether you’re crafting for pleasure or as a business venture, perfecting knotting techniques will set your work apart.
In this section, we will cover the very foundation of this craft. We’ll explore what bracelet knotting entails and why it holds such allure for many. The joy of creating something by hand is unparalleled, and with each knot tied, your skills will flourish. So let’s get started on this exciting journey of knots for bracelets.
Essential Tools and Materials for Knotting Bracelets
Before embarking on your bracelet knotting journey, it’s vital to gather the right tools and materials. This foundation sets the stage for successful bracelet creation. Here’s what you’ll need:
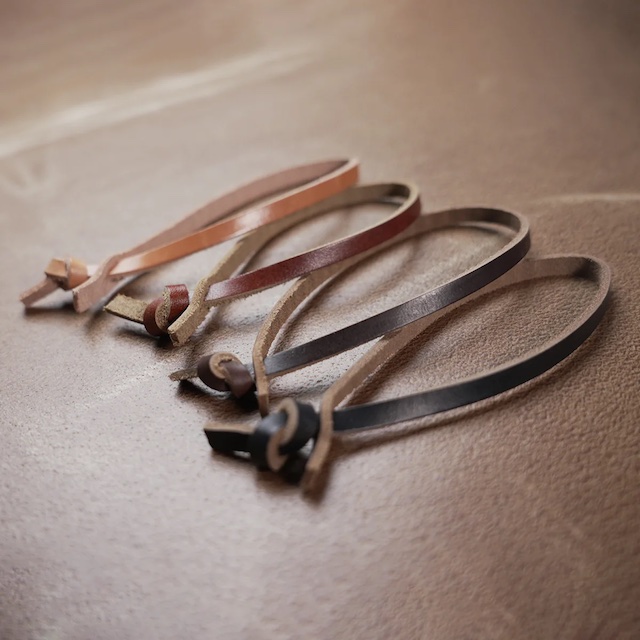
- Cord: Selection is crucial. Nylon, hemp, cotton, satin, and leather are popular choices. Each offers different textures and strengths. Consider the final look and feel you desire for your bracelet.
- Measuring Tape: Precision is key in bracelet making. Use a measuring tape to determine the length of cord needed for your project.
- Scissors: A sharp pair will ensure clean cuts. This is important for a polished end result.
- Clipboard or Tape: These will hold your cord in place while knotting. A stable working area is essential for consistency.
- Beads and Charms: These add personality to your bracelets. Choose ones that complement your cord and overall design.
- Lighter or Glue: To secure the ends of your cord, a lighter can melt nylon ends, while glue can reinforce knots.
- Tweezers or a Needle: These help with tightening knots and adding small beads.
Collect these tools and materials before starting. This ensures a smooth and enjoyable bracelet crafting experience. With your setup in place, you’re ready to start tying those knots for bracelets. Remember, the quality of your tools can greatly affect the outcome of your bracelets. Happy knotting!
Basic Knots Every Bracelet Maker Should Know
Knotting is an essential skill in bracelet making. Here are some basic knots that every bracelet maker should master:
- Overhand Knot: This is the simplest knot to start with. You make a loop and send the end of the cord through it. Use it to begin and end most bracelets.
- Square Knot: Made by tying left over right and then right over left. It’s great for securing two strands together and making flat bracelets.
- Lark’s Head Knot: This knot attaches cords to a ring or another cord. Fold the cord in half, place it under the ring, and pull the ends through the folded loop.
- Slip Knot: A knot that can adjust the size of the bracelet. You tie a knot that moves along the cord.
- Half Hitch: This knot involves passing one end of the cord around and through a loop. It’s the foundation for many decorative patterns.
- Surgeon’s Knot: A secure knot that adds a loop before completing a square knot. It’s used to ensure that your knots for bracelets won’t slip.
- Fisherman’s Knot: Ideal for joining two cords or securing a clasp. Tie two overhand knots around two separate cords and pull them together.
Mastering these basic knots serves as the backbone for creating a variety of bracelets. They provide both function and decoration. Practice these knots to build a strong base for your bracelet-making skills. As you get comfortable, you can combine and alter these knots to craft unique designs. That’s what makes knotting such a diverse and engaging activity in bracelet making.

Techniques for Securing Knots in Bracelet Making
Strong knots are vital in bracelet making. They prevent your creations from falling apart. To secure knots, you can use several simple yet effective techniques. Each technique ensures your bracelet remains intact and durable. Here’s how to keep those knots for bracelets tight and secure.
- Tightening: After tying a knot, always pull the ends firmly. This reduces the risk of it coming loose. Tighten knots by pulling each cord end equally.
- Gluing: A small dab of glue can reinforce knots. Use a clear-drying adhesive for a neat finish. Apply glue precisely and let it dry completely.
- Melting: For synthetic cords like nylon, heat can secure knots. Briefly pass a lighter’s flame over the knot ends. Be cautious to not burn the cord.
- Locking Knots: Some knots, like the surgeon’s knot, have a built-in mechanism to lock. These require an extra loop or twist to prevent slipping.
- Coating: Apply a thin layer of clear nail polish or a specialized knot sealer. This adds extra hold to the knots.
- Double Knotting: In some cases, tying another knot over the existing one adds security. This method is useful but can add bulk.
- Weaving in Ends: Weave the cord ends back into the bracelet pattern. This hides ends and adds strength to the knots.
A combination of these techniques can be effective. For example, tightening and then gluing can work well for many bracelet designs. Make sure you let glue or coating dry before handling. With practice, you’ll find the best methods to keep your knots for bracelets secure and stylish.
Step-by-Step Guide to Tying Decorative Knots
Now that you have mastered the basic knots for bracelets, it’s time to elevate your craft. Decorative knots can transform a simple bracelet into a work of art. Here we will walk you through a step-by-step guide on how to tie a couple of decorative knots. Remember, practice makes perfect, so take your time to hone these skills.
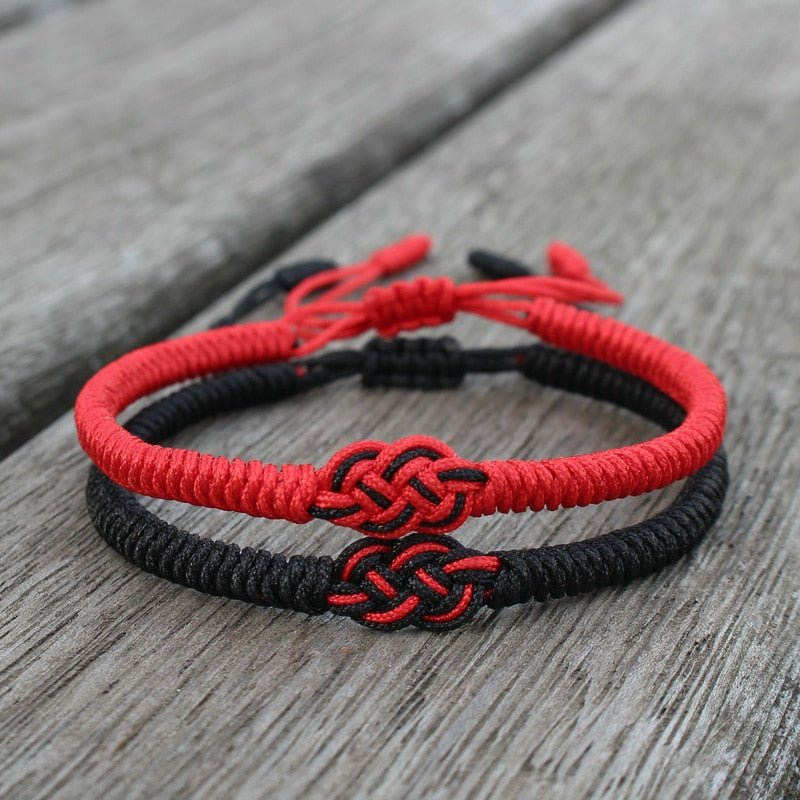
- Chinese Knot: Also known as the ‘Double Coin Knot’, it resembles two coins stacked atop each other. Start by making two loops and laying them side by side, then weave the ends through the loops. This elegant knot adds a symbolic touch to your bracelet.
- Celtic Knot: With its intricate loops and symmetry, it’s a staple in decorative knotting. Create looped shapes and interlace them following a specific pattern. Celtic knots are perfect for a timeless design.
- Josephine Knot: Also known as the ‘Lover’s Knot’, this consists of two interlinked overhand knots. It is usually made with two cords for a striking effect. Follow the natural loop of the cords to create this love-inspired knot.
- Macrame Knots: These knots offer a range of possibilities. The basic macrame knots include the square knot and the spiral knot. By repeating these knots, you can create complex patterns and textures.
When tying decorative knots for bracelets, maintain even tension. Ensure all loops and knots are identical in size for a consistent look. Double-check your work as you go, so any mistakes can be corrected early on. With decorative knotting, patience is indeed a virtue—as is precision. But the end result is always worth the effort.
Remember to use the techniques you’ve learned to secure your knots. Decorative knots not only need to be beautiful but also durable. Incorporating beads and charms can also complement the decorative knots, enhancing the overall design of the bracelet.
Tying decorative knots might seem daunting at first, but with practice, you’ll be able to master these with ease. Let your creativity flow and don’t be afraid to experiment with different knots for bracelets.
Common Mistakes to Avoid in Bracelet Knotting
When you start knotting bracelets, it’s easy to make errors. These mistakes can affect your bracelet’s look and durability. Avoid these common pitfalls to improve your craft:
- Not Measuring: Skipping measurements can lead to bracelets that don’t fit. Always use a measuring tape for accurate length.
- Loose Knots: Knots that aren’t tightened can unravel. Pull each cord firmly after making a knot.
- Uneven Tension: Inconsistent tension causes lopsided bracelets. Keep the same tension on all knots for a balanced design.
- Ignoring Knot Direction: Tying knots in the wrong order can spoil patterns. Pay attention to the direction of each knot.
- Cutting Cord Too Short: Having too little cord restricts working space. Cut cord longer than you think you need.
- Forgetting to Secure Ends: Knots can slip if ends aren’t secured. Use glue or heat to lock them in place.
- Not Practicing Enough: Some knots need practice to perfect. Work on basic knots regularly to improve.
- Overcomplicating Designs: Starting with complex patterns can overwhelm. Begin with simple designs and gradually advance.
By sidestepping these mistakes, your bracelet knotting skills will grow. Remember, practice is key. With time, you’ll create beautiful and sturdy knots for bracelets.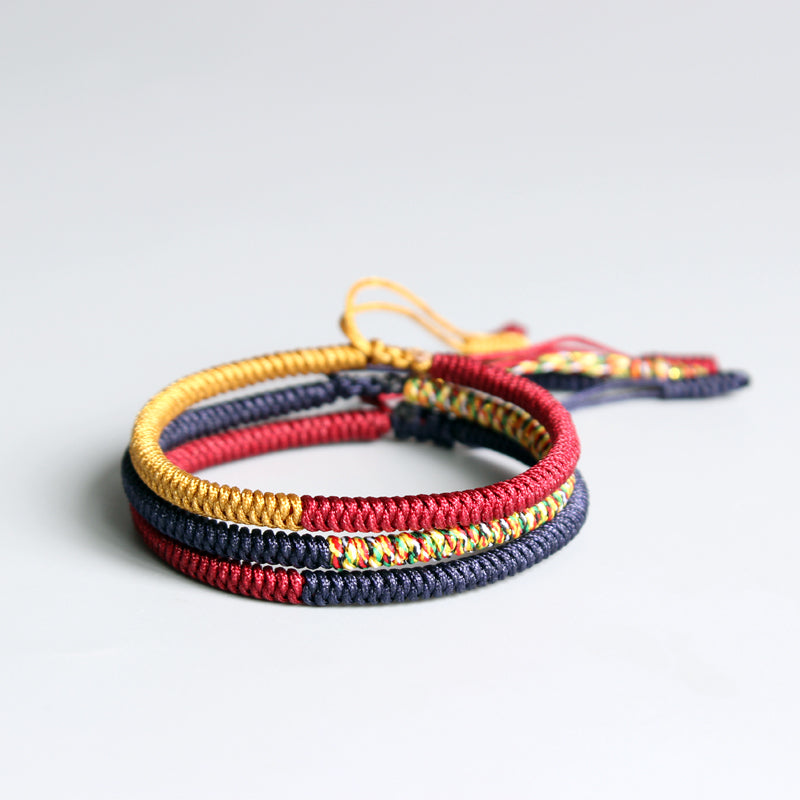
Tips for Choosing the Right Cord for Your Bracelet Designs
Choosing the right cord is essential when making knots for bracelets. The cord can change the look, feel, and durability of your design. Here are some tips to select the perfect one:
- Material Matters: Consider the bracelet’s purpose. Nylon and polyester are strong and work well for everyday wear. Silk or satin offer a softer look for dressier pieces.
- Thickness Counts: Thicker cords make bolder statements but can be tough to knot. Thin cords are delicate and can break easily. Match the cord thickness to the knot style you plan to use.
- Texture Talks: Do you want a smooth or rough bracelet? Hemp cords give a natural, textured feel. Leather adds a rugged touch, while cotton is soft against the skin.
- Color Counts: Choose colors that will blend or contrast well with your beads and charms. Remember that some cords can fade over time, so opt for high-quality dyed materials.
- Test Stretch: Some cords stretch more than others. Pull the cord before cutting to see how it behaves. This helps in maintaining the bracelet’s shape and size.
- Check Compatibility: Make sure the cord works with the beads you’ve chosen. Small beads may not fit on thicker cords, while heavy beads could overpower thin ones.
- Invest in Quality: Higher quality cords last longer and are nicer to work with. They might cost more upfront, but they pay off in the longevity of your bracelets.
The right cord can elevate your bracelet design and knotting experience. Consider these tips when making your choice. Happy crafting!
Finishing Touches: Adding Beads and Charms to Your Knots
The final step in bracelet making is adding character. Beads and charms transform basic knots into personal treasures. Here’s how to do it right:
- Plan Your Design: Before starting, know where beads and charms will sit. Sketch out the pattern if it helps.
- Choose Your Add-Ons: Pick beads and charms that speak to you. They should match the bracelet’s style and colors.
- Secure Them Tight: Thread beads onto the cord and knot around them to keep in place. Use charms with loops and tie them securely into the design.
- Keep Balance: Distribute beads and charms evenly. This keeps the bracelet’s look consistent and ensures it sits well on the wrist.
- Use Special Knots: Some knots, like the macrame square knot, work well to hold beads. Experiment to find what holds best.
- Double-Check: After adding beads or charms, inspect your bracelet. All elements should be secure and well-aligned.
- Make It Wearable: Ensure your bracelet still feels comfortable. It shouldn’t be too heavy or have parts that can snag.
Adding beads and charms is not just about decoration. It gives your bracelets a touch of personality and makes them stand out. Keep practicing to find new ways to incorporate these elements into your knots for bracelets. With every new project, your skill in adding these finishing touches will shine.
Tags: craftsmanship, knots for bracelets, personal treasures